Home Studio

Basics of Treating a Home Studio (Guide)
Need some help or tips to get the best sound out of your room? Auralex can help!
Email support@auralex.com or give us a call: (317) 842-2600
Home Studio Acoustics
There are many factors that are important to the overall sound of your room. Some of the most commonly overlooked are the size and shape of the space along with its surface materials. These will significantly affect the overall accuracy of the sound in the room, regardless of the equipment you are using. Even if your room is less than perfect, using Absorption, Bass Traps and Diffusion in a space can help control sound considerably.
 |
It’s The Room…
How do we determine where panels should be placed?
The science behind acoustics can be complicated, but there is a generally agreed-upon approach as to where treatment makes the most noticeable difference. We will concentrate on that more simplistic principle for our example below. Let’s walk through some of the basic logic behind where and why we place acoustic treatment in small rooms (Read about treating a Vocal Booth here):
- The diagram below depicts an average-sized, residential room: 12’ wide, 15’ long and 8’ tall.
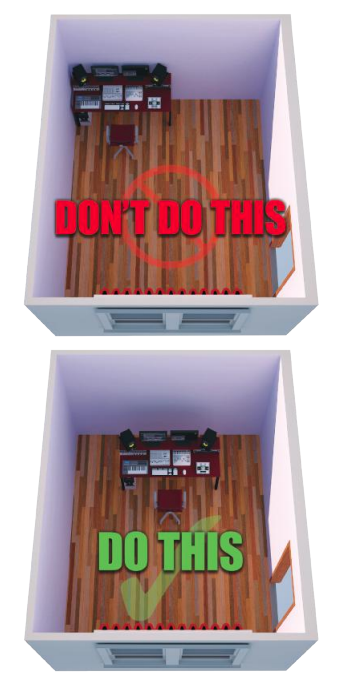
- If you have speakers, you should move them and your listening position away from the wall/corners of the room.
- Treatment should start approximately 30-36” off the floor where it will be the most beneficial to a seated listener.
- One of the most common problems in small rooms is the buildup of low frequencies, especially in corners of the room. This makes proper Bass Trapping very important in smaller spaces.
Finding the “Sweet Spot” AKA Set-up Your Mixing or Listening Position
Before you even treat the room there are few things you can do to help ensure you are getting the most out of the sound in your space. Best of all, these are things you can do easily and for free! Follow the animation to see all the steps.

***NOTE: These are very basic instructions, you can get much more in depth with each of these aspects if you choose do so – but we wanted to try and keep this simple for our example. Remember, these are not “hard and fast” rules, but simple, yet effective ways to try and minimize axial and modal issues in a smaller, rectangular-shaped room. The correct method for you and your space may be different, so you should try different placements and listen to the results yourself.
1. Move your mix/listening position to the 38% point of the room. This is a method developed by world-renowned studio designer, Wes Lechot and works very well in the majority of simple, rectangular rooms.
Take the longest dimension of your room, 15 feet in our example and multiply it by 0.38 to get 38% of the overall length: 5.7 feet, in our case. This is where your chair/listening position should be located (not your speakers).
2. In order to achieve sonic accuracy it is important to have as much symmetry as possible. To this end; make sure to Center your desk, speakers, and listening position in the room the best you can.
3. This step is where some sources start to offer conflicting information and some answers (or the math behind them) can be very complex. Again, we will try to stay somewhat basic and follow the details that are generally agreed upon by most major players in the acoustics/music industry.
Your monitors should be placed pointing at a 45° angle inward towards the listening position. The monitor’s tweeters should be placed at ear level – typically 48″-50″ high. Lastly, there should be a 60° Angle at all three intersection points of the large Equilateral Triangle, this means all sides should be the same distance – ideally 67.5″, if possible.
Treat Yourself! 5 Steps for Acoustic Treatment
1. Add Bass Traps: The first step for acoustic treatment in any small room should be to place Bass Traps in all of the corners. If you have a more limited budget concentrate on placing traps (and all treatment) at ear level – about 30-36″ off the ground. If you have an uneven corner or some other anomaly that doesn’t allow for all corners to be treated vertically, Bass Traps can also be placed horizontally. As mentioned in the steps above symmetry is important to sound accuracy, so try to maintain as much as possible.
2. Treat Front Wall: The next step is to place treatment behind your monitors and mix position. This helps to tame secondary reflections or slap back echo from the rear wall. This helps to tame secondary reflections or slap back echo from the rear wall. Also, consider floating your monitors and subwoofers on isolation platforms such as Auralex® MoPADs™, ProPADs™ and SubDude-II™.
3. Taming Early Reflections or First Reflection Points: Think of the way the sound waves emanate from a speaker – they radiate in all directions on a 3D plane similar to the animation shows after Step #3. This initial contact isn’t the big problem, but rather the reflections that happen after a sound wave reflects off a hard surface like drywall or a concrete floor. These can cause common problems like slap-back echo and reverberation. To correct this, you need to first locate the First Reflection Points. The easiest way is to use a method called the “Mirror Trick.”
For this you will need a mirror and a friend. Sit in the mix position and have a friend move the mirror along the wall at the same height as your monitors. When you can see the monitors in the mirror, make a mark or the wall or use tape to note that area.
4. Place Treatment at First Reflection Points: The locations you identified with the mirror trick are reflection points and this is exactly where you should place acoustic treatment. Be creative, but keep in mind that symmetry plays an important role in the effectiveness of the treatment as well as its look and visual appeal.
5. Add Ceiling Treatment: Directly above the Mix Position is a place where treatment is sometimes overlooked. This is definitely a place where reflections from the ceiling to floor and work-surface can cause a problem for critical listening. Placing absorption panels or clouds above the listening position is highly recommended.
Looking to setup your Home Studio?
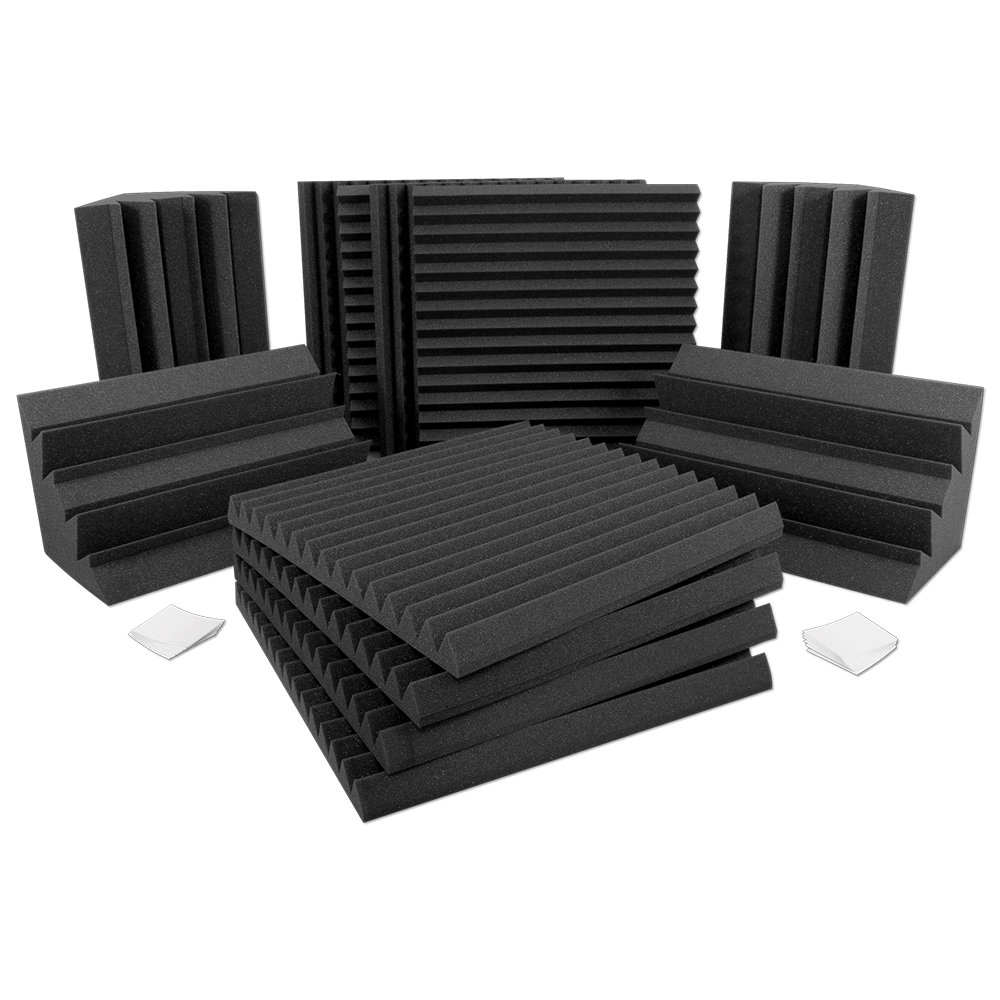
Checkout our selection of Room Kits!
If you have some basic measurements and information about your space and you are ready to receive a recommendation, please visit the Auralex Free Room Analysis page.