How to Build Interior Sound-Isolating Walls
Solid construction materials and authorized Auralex products are highly recommended. Always use appropriate safety equipment like gloves and safety glasses.
This project assumes you are building a "room-within-a-room", and that the interior walls described below are surrounded by a pre-existing structure on all sides. We recommend all walls in the pre-existing structure also be acoustically insulated and constructed with isolation in mind when possible.
Project Overview
Estimated Material Cost: $10/sq ft
Time: 3-4 Days
Guides Referenced in this Project
- Sound Isolation – What is it?
- What’s the best method to install SheetBlok?
- How effective is RC-8 Resilient Channel and how do I use it?
Auralex Products Used in this Project
Construction Materials Used in this Project
- Wood or Metal Studs
- Plywood
- Mechanical Fasteners & Adhesives
1. Interior Wall Framing
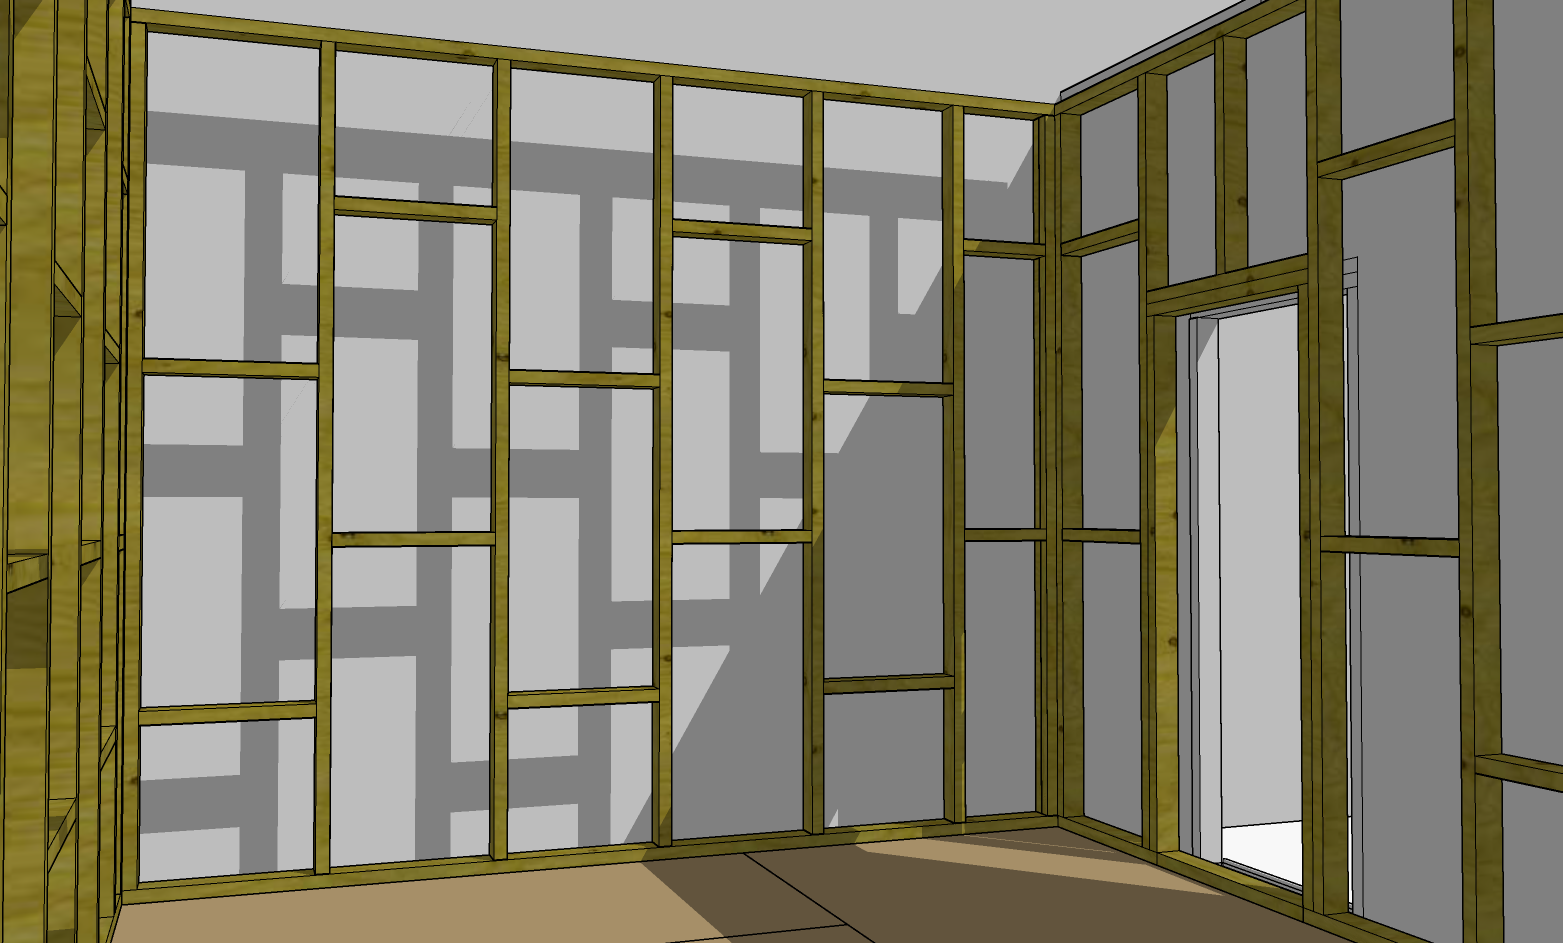
Build the wall frames to suit from either wood or metal studs and fasten to the floating floor. To reduce the resonance of the structure, construct wall frames using as few materials and fasteners as possible. For extra absorption, trim and place a layer of SheetBlok™ Sound Barrier between the sub floor material and stud base prior to fastening.
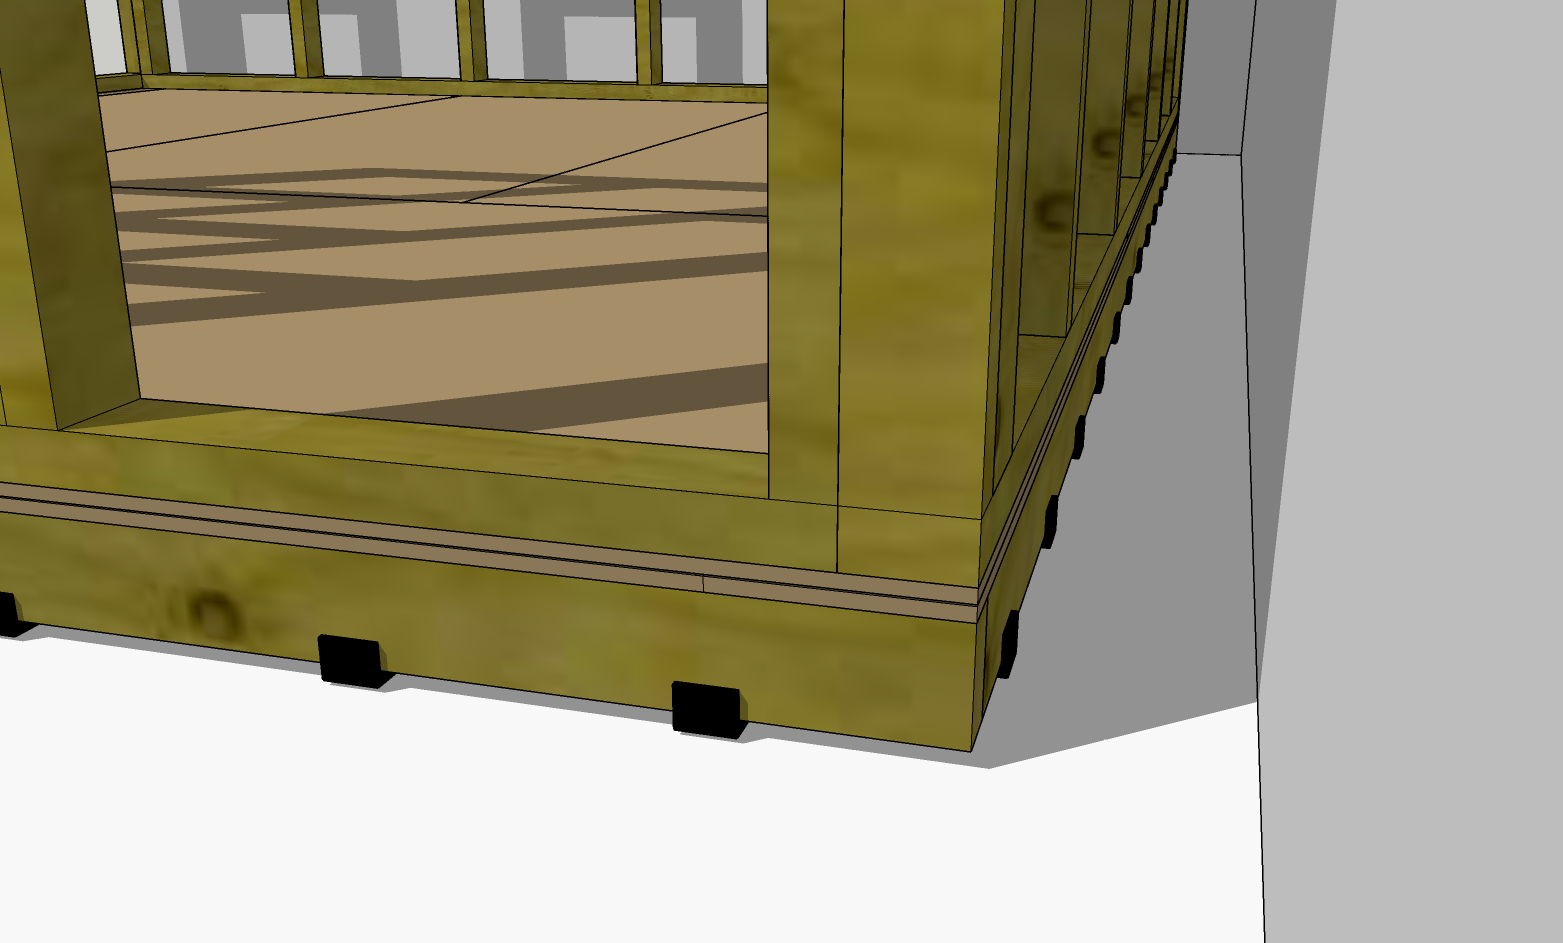
Make sure to use construction methods stable enough to allow the walls to freely float without bracing against the existing structure. Maintain at least a 2-3" gap on all sides.
To prevent stud warp and make the Mineral Fiber Insulation installation easy, place the studs 2' apart, and place stringers every 4' where possible.
2. Interior Mineral Fiber Installation
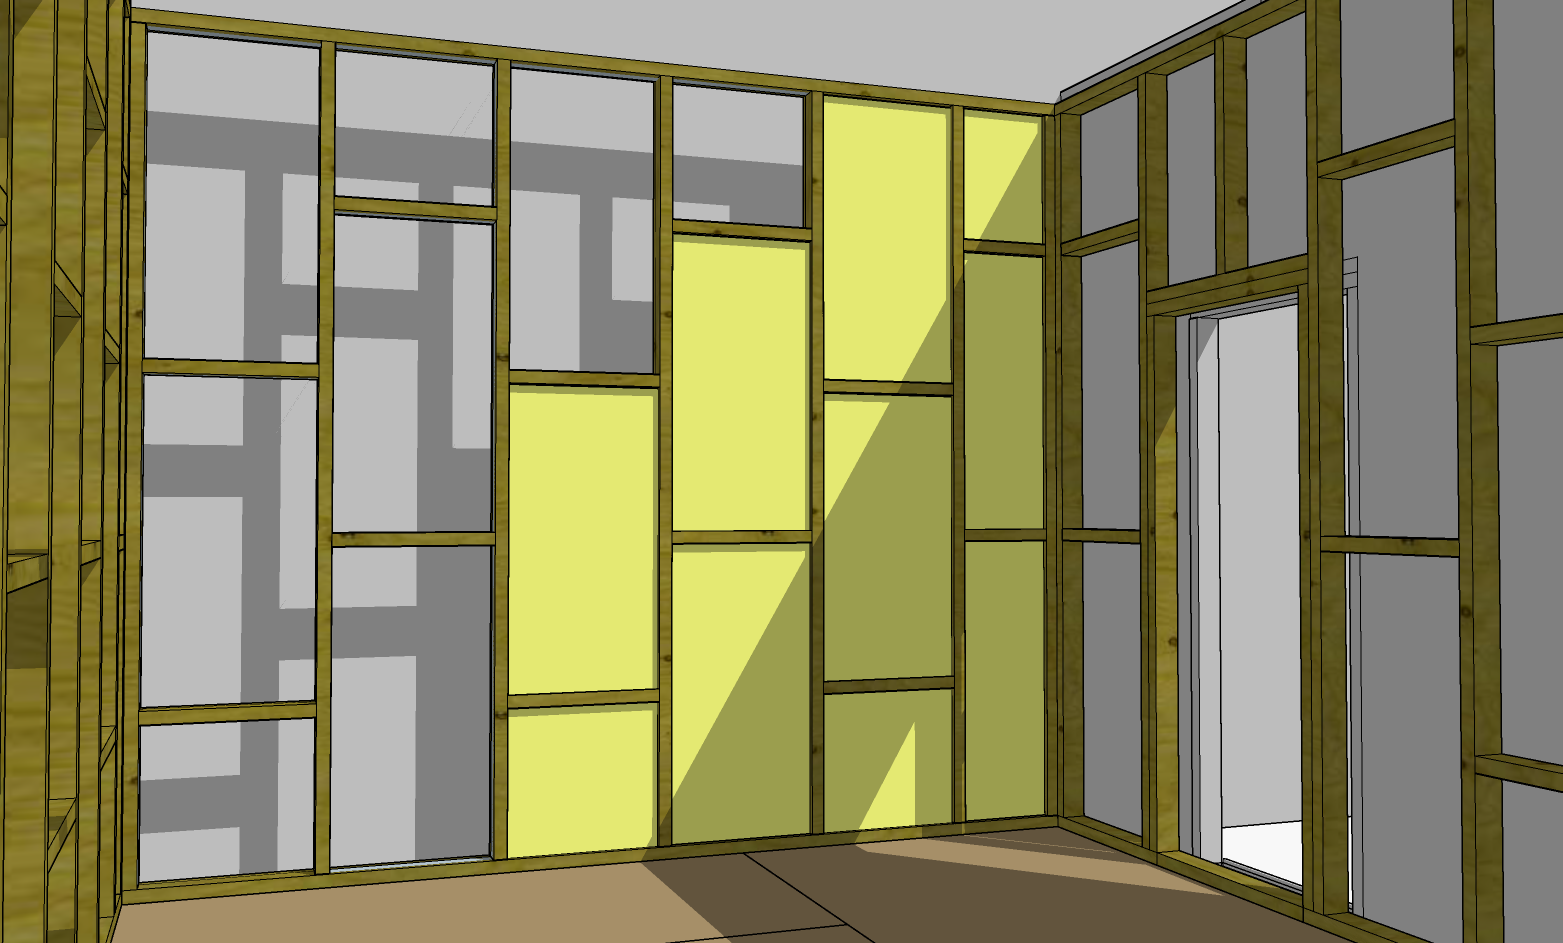
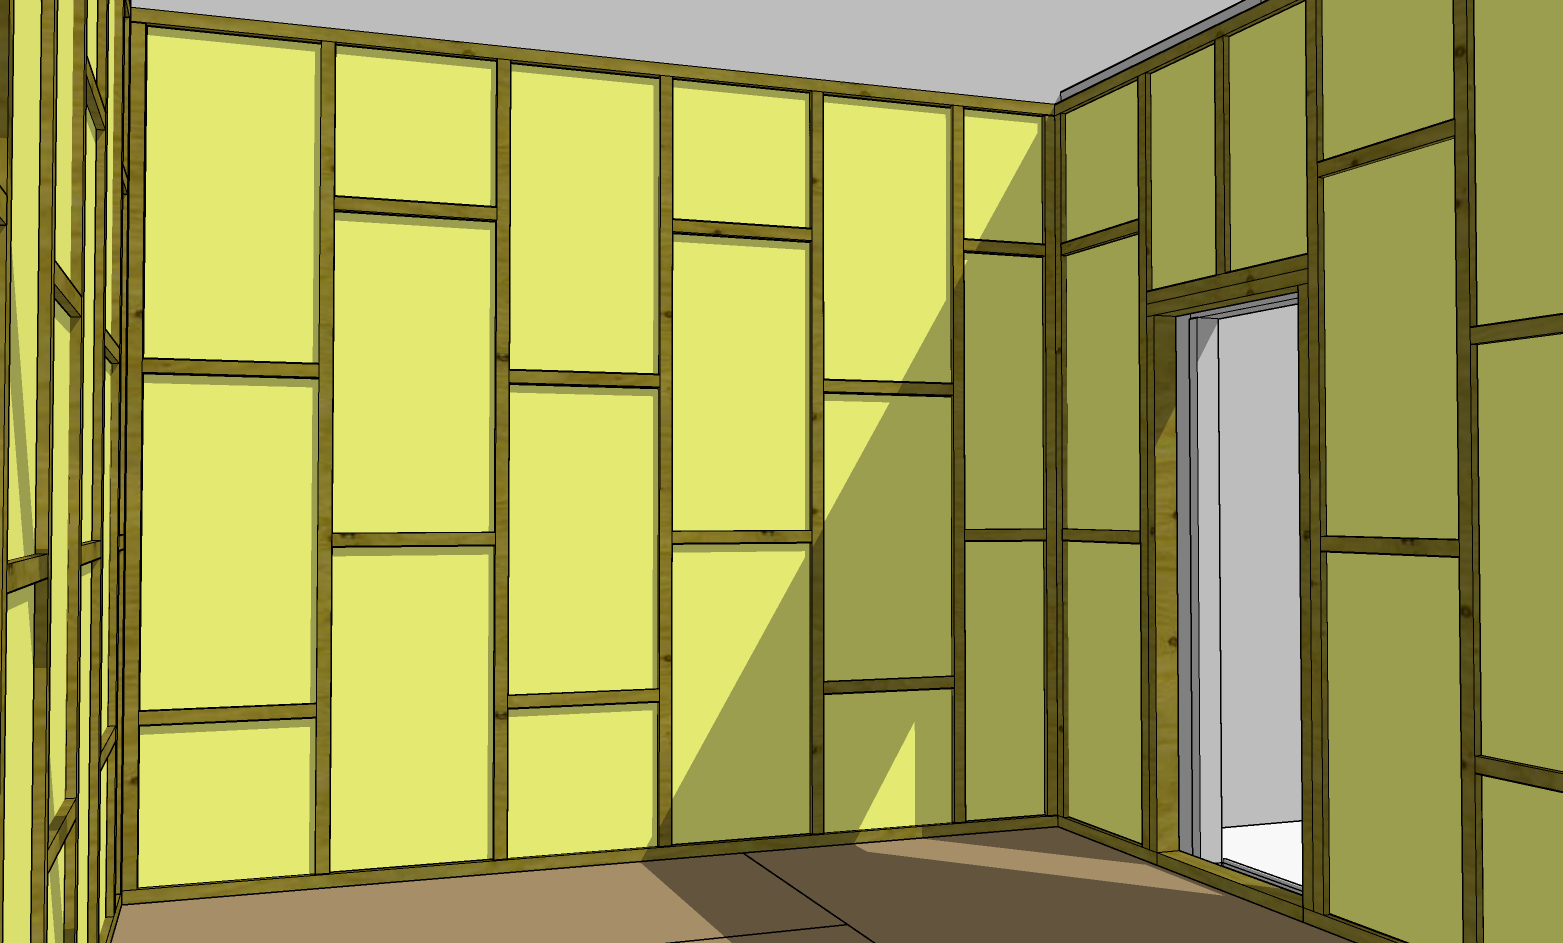
Fill the wall frames with Mineral Fiber Insulation, the primary sound absorption material. Ensure a snug fit around all sides, using anchors if necessary.
3. Resilient Channel Installation
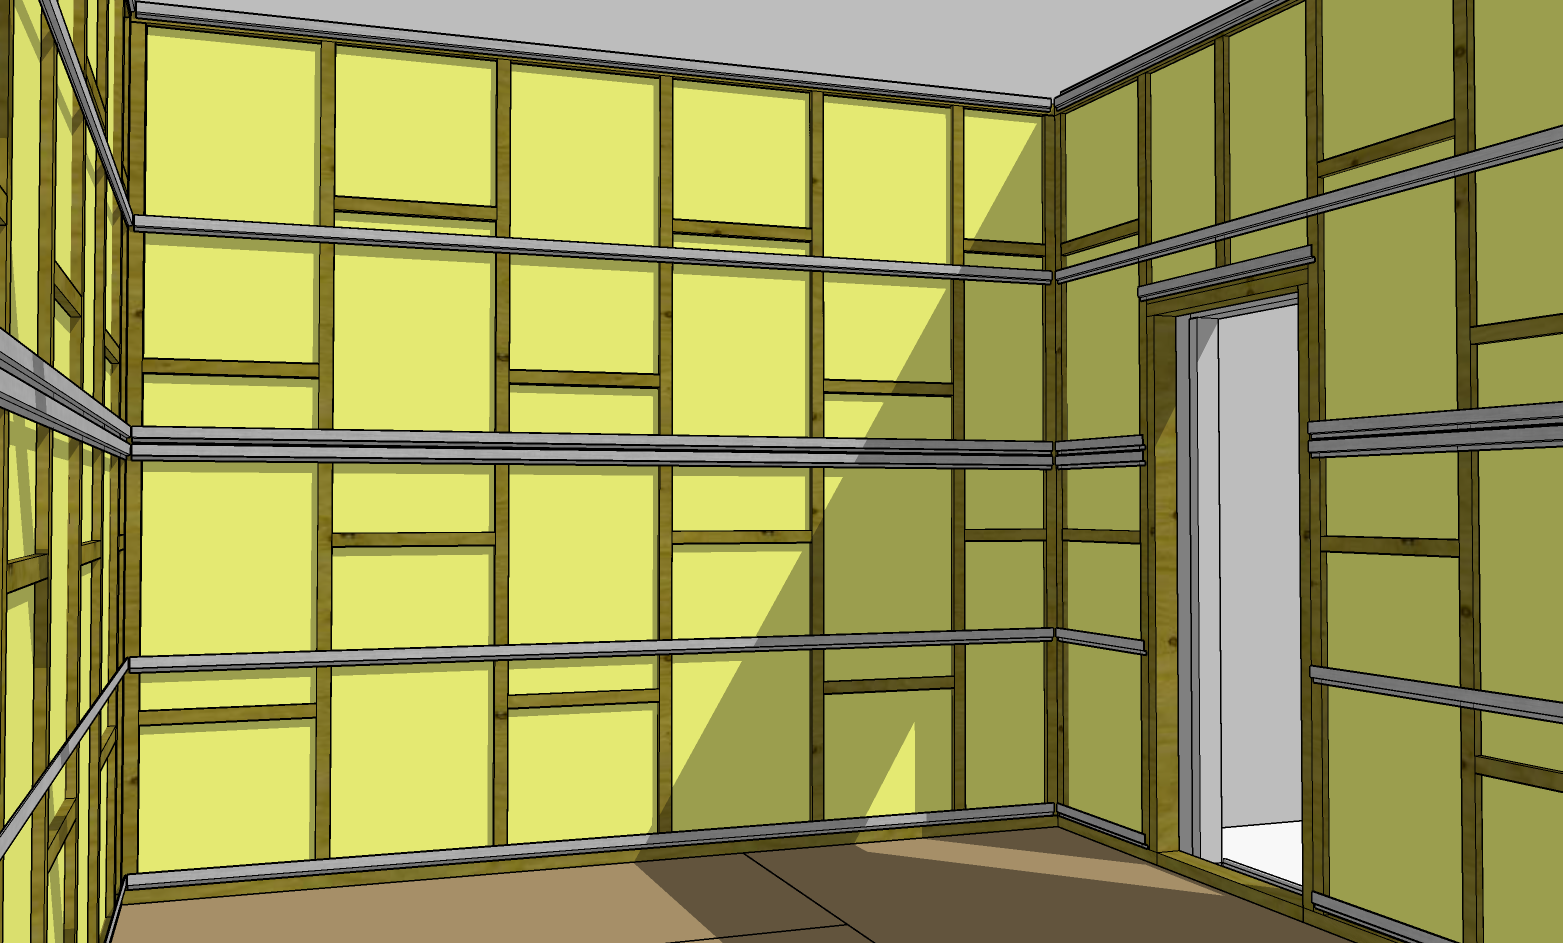
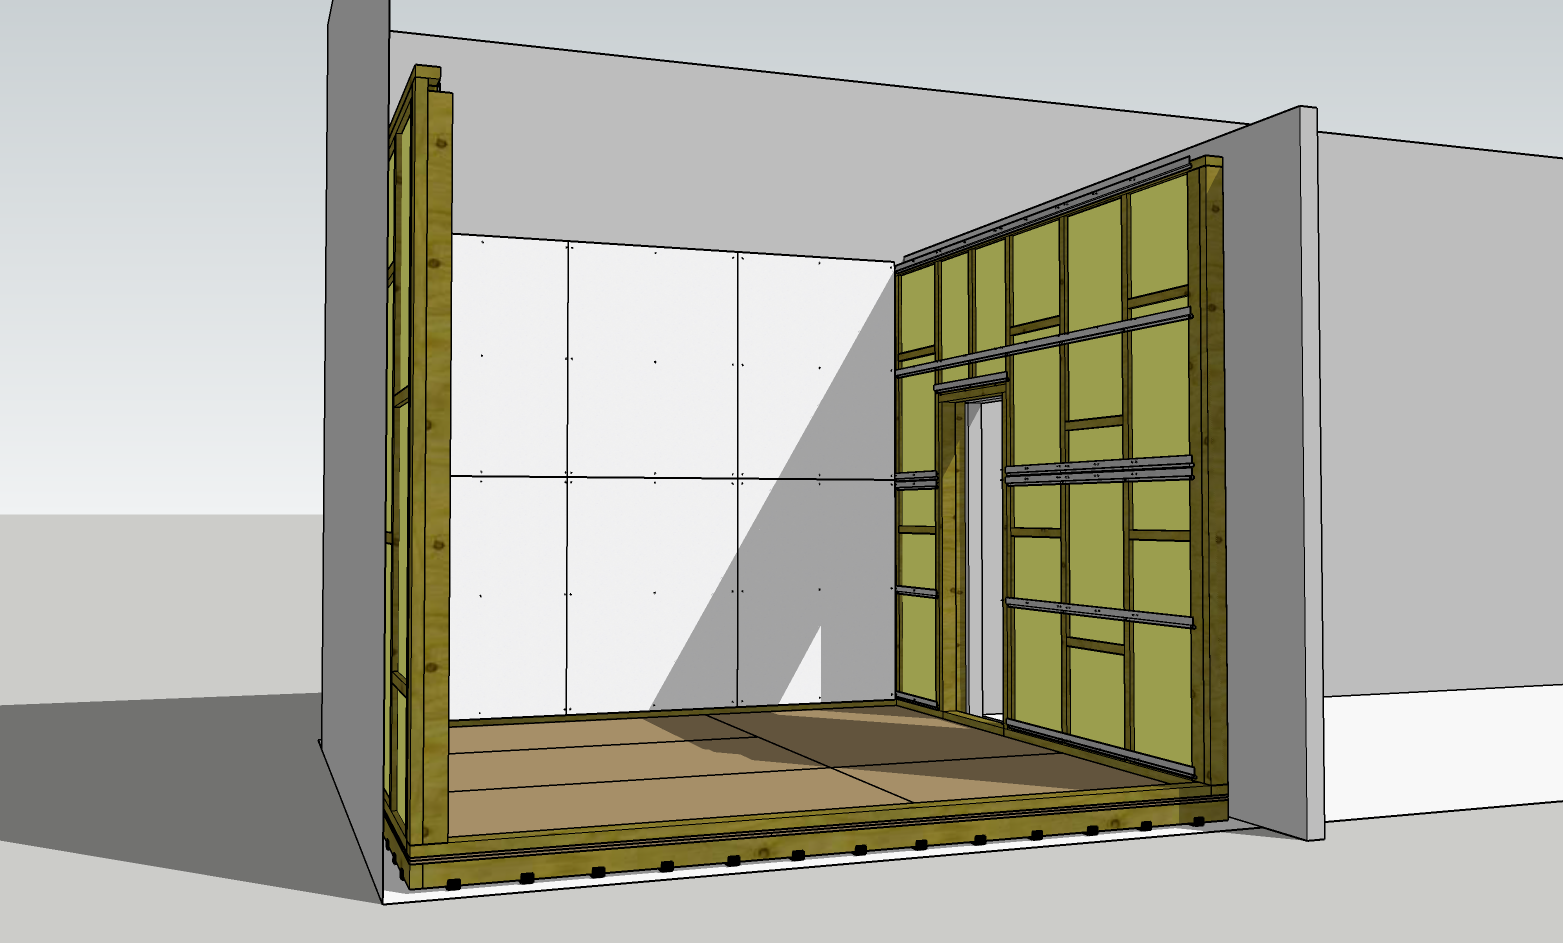
To prepare for drywall installation, securely fasten RC-8™ Resilient Channel to each wall stud around the room. Cut and space the channels such that each panel of drywall can be secured at top, middle and bottom. Keep note of your measurements, you will need to reference their location place your drywall fasteners.
How effective is RC-8 Resilient Channel and how do I use it?
Cut to length and ensure both sides of the Resilient Channel extend to meet evenly in the corners. To securely fasten drywall panels at seams, place two channels side-by-side.
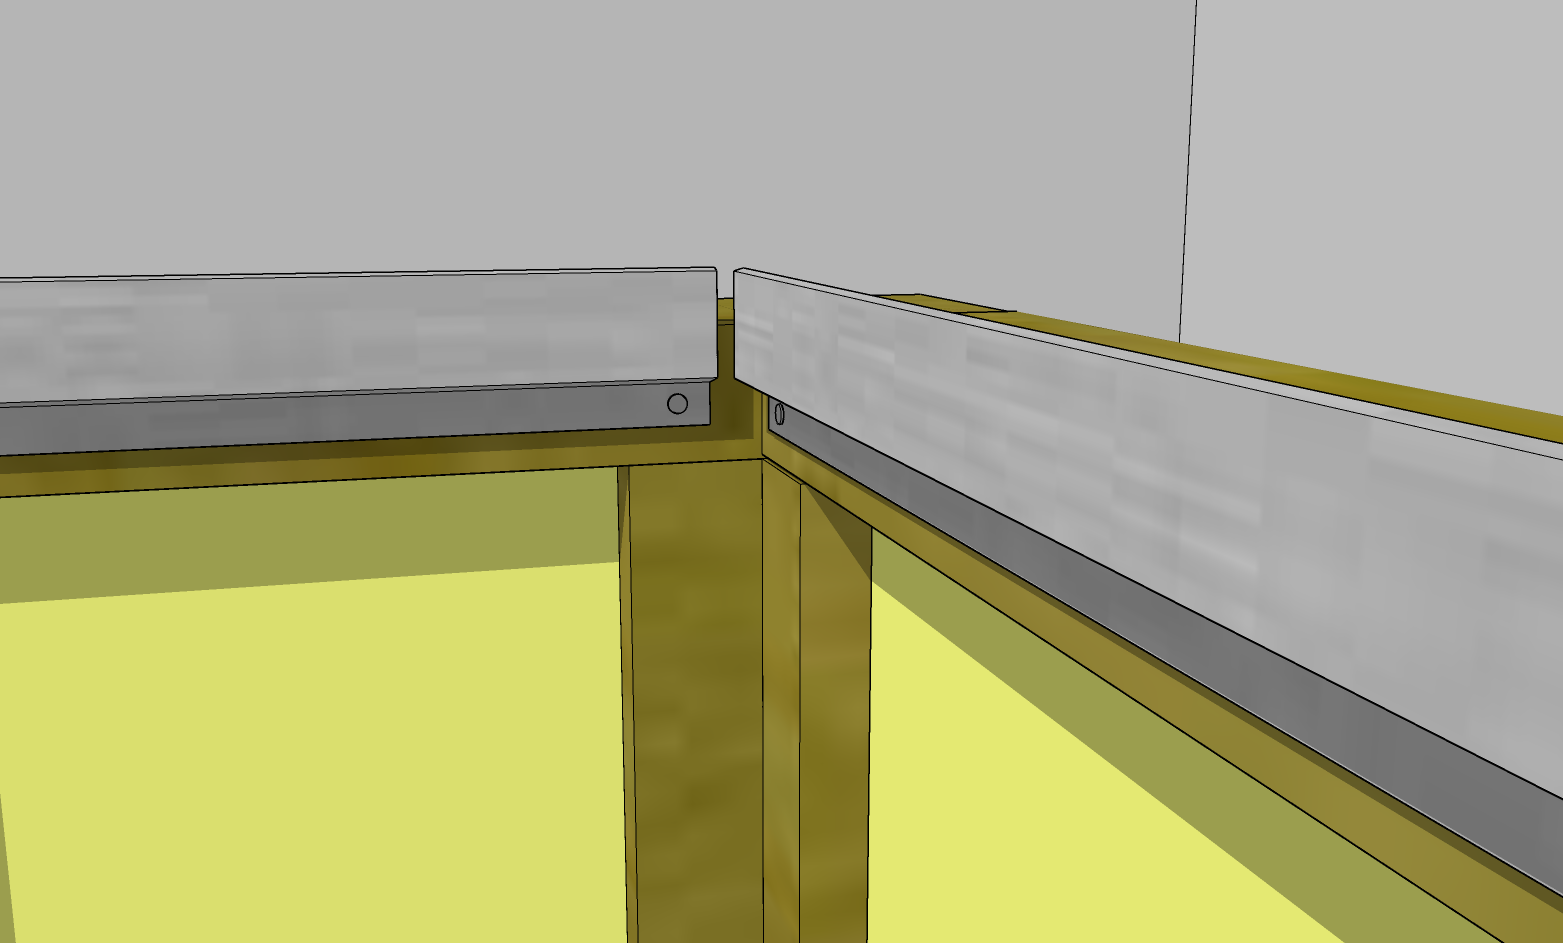
To allow for a tight ceiling seam, place the top-most strips of Resilient Channel such that the mounting face extends slightly above the top-most stud. This will allow a capped ceiling to fit snugly inside the multi-layer walls.
4. Interior Dry Wall Installation - 1 of 2
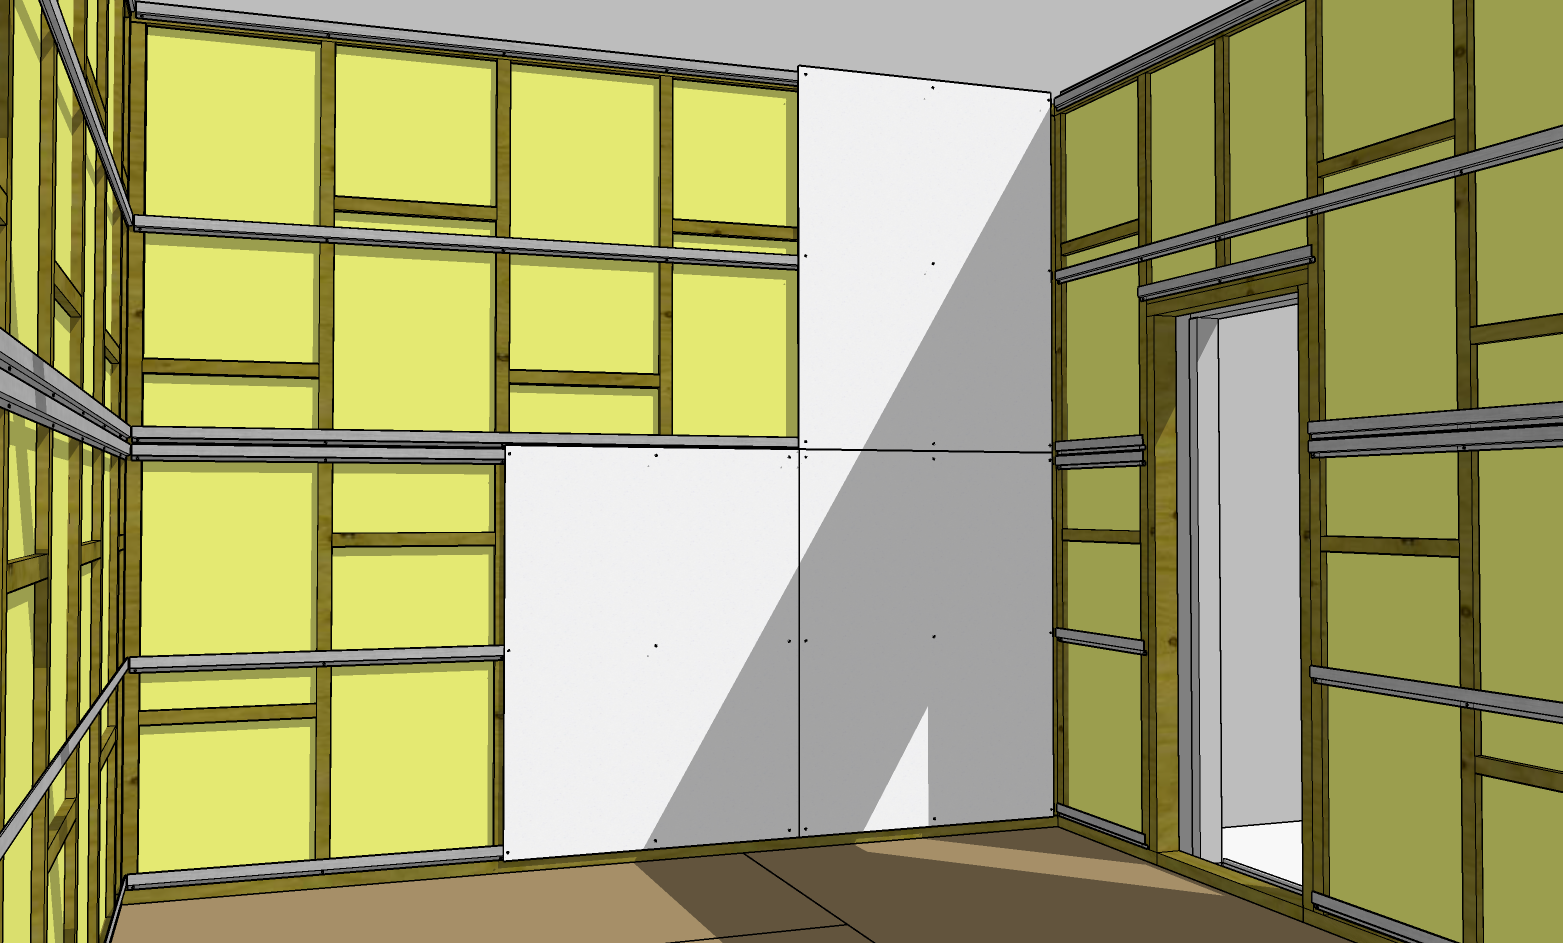
Mount drywall panels to the Resilient Channel using fasteners around all sides and center.
Drywall should be mounted directly through the Resilient Channel using as few fasteners as possible, but with fasteners spaced no less than 2' apart. The Resilient Channel should provide a gap between the wall studs and drywall panels.
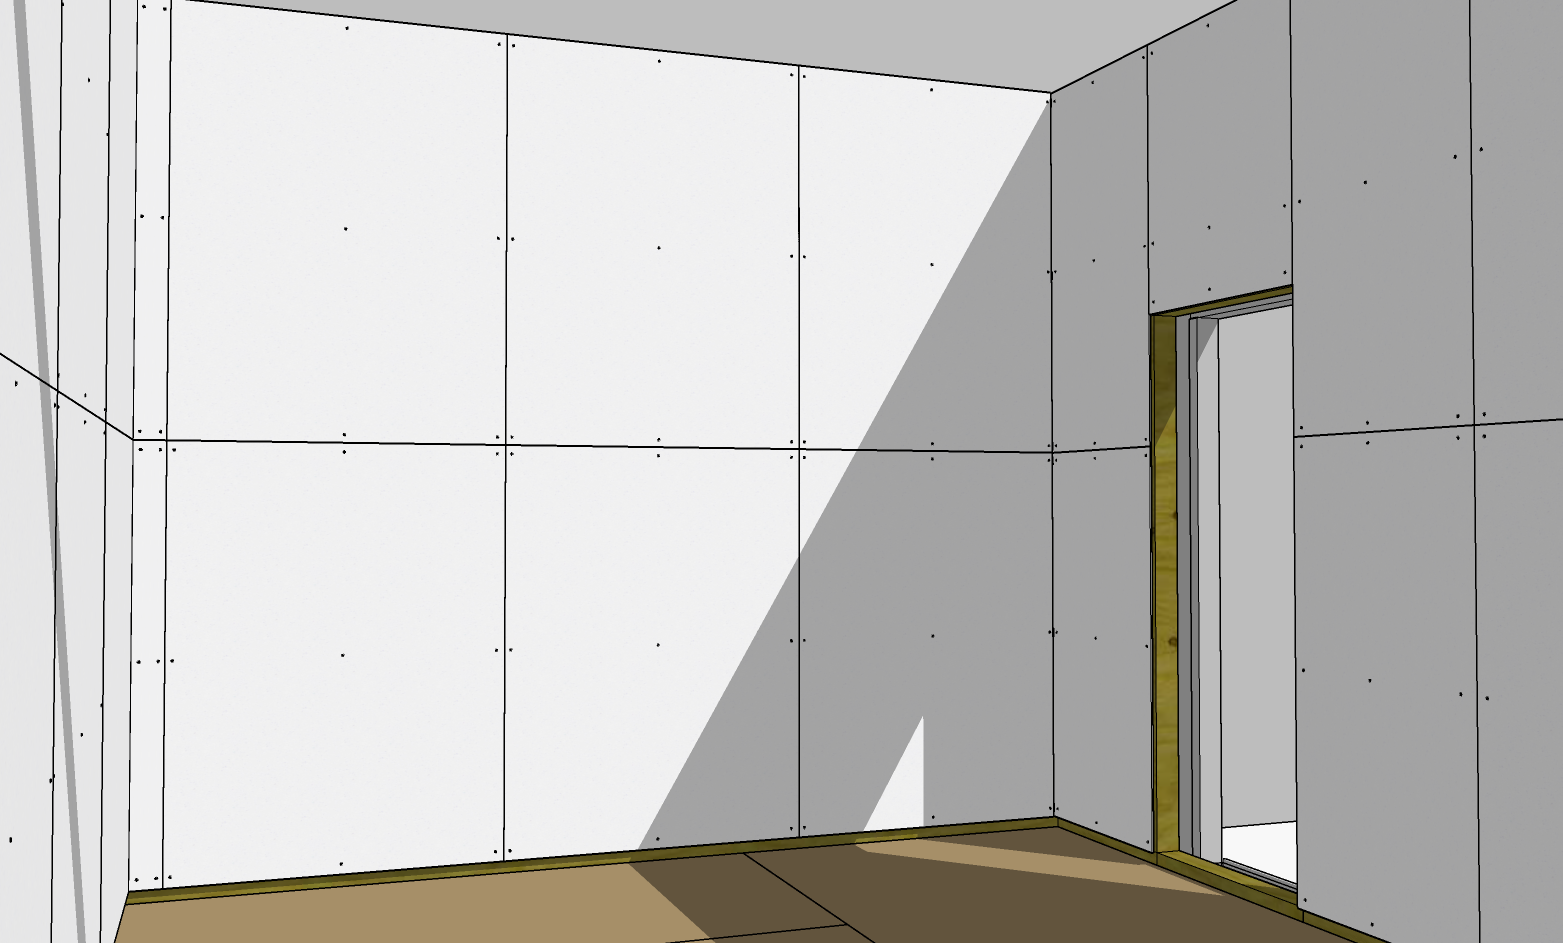
Measure and cut to ensure tight and flush seams around all joints and corners, and further seal all seams with StopGap™ Sealant. Once mounted, drywall panels should be slightly flexible against the Resilient Channel - this aids in low-end dampening.
5. SheetBlok Installation
Cut SheetBlok™ Sound Barrier to wall-length and install a single layer with adhesive, brad nails or staples. To minimize seam overlap and airflow, install SheetBlok perpendicular to the drywall panels.
What’s the best method to install SheetBlok?
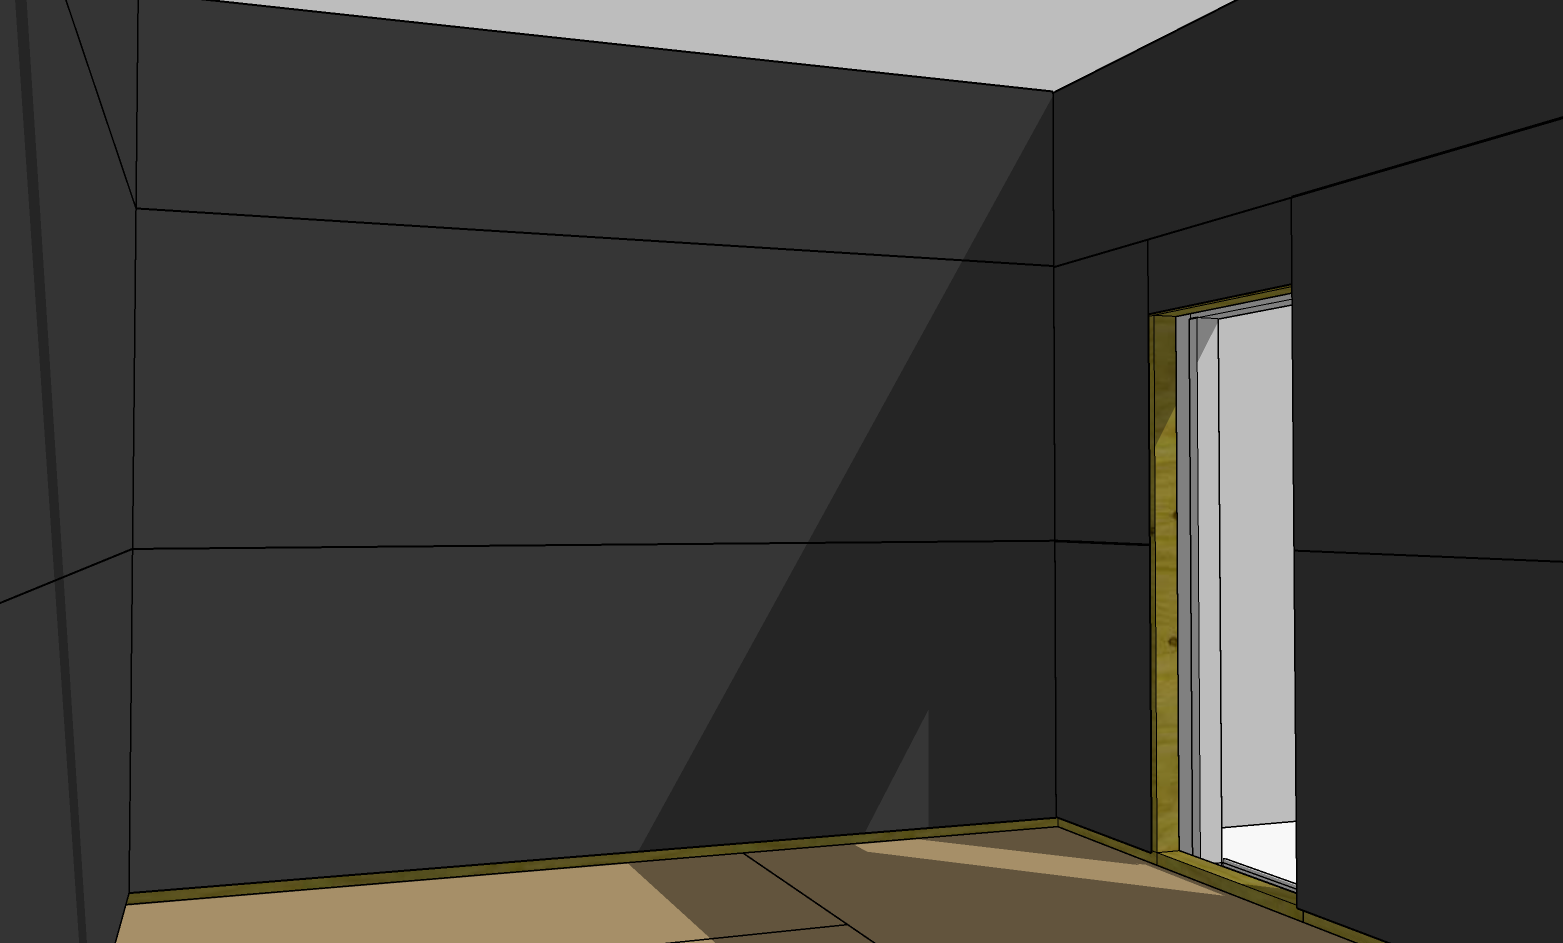
Complete a layer of SheetBlok around the room, ensuring 100% coverage on every surface. Seal all seams with StopGap™ Sealant.
6. Interior Dry Wall Installation - 2 of 2
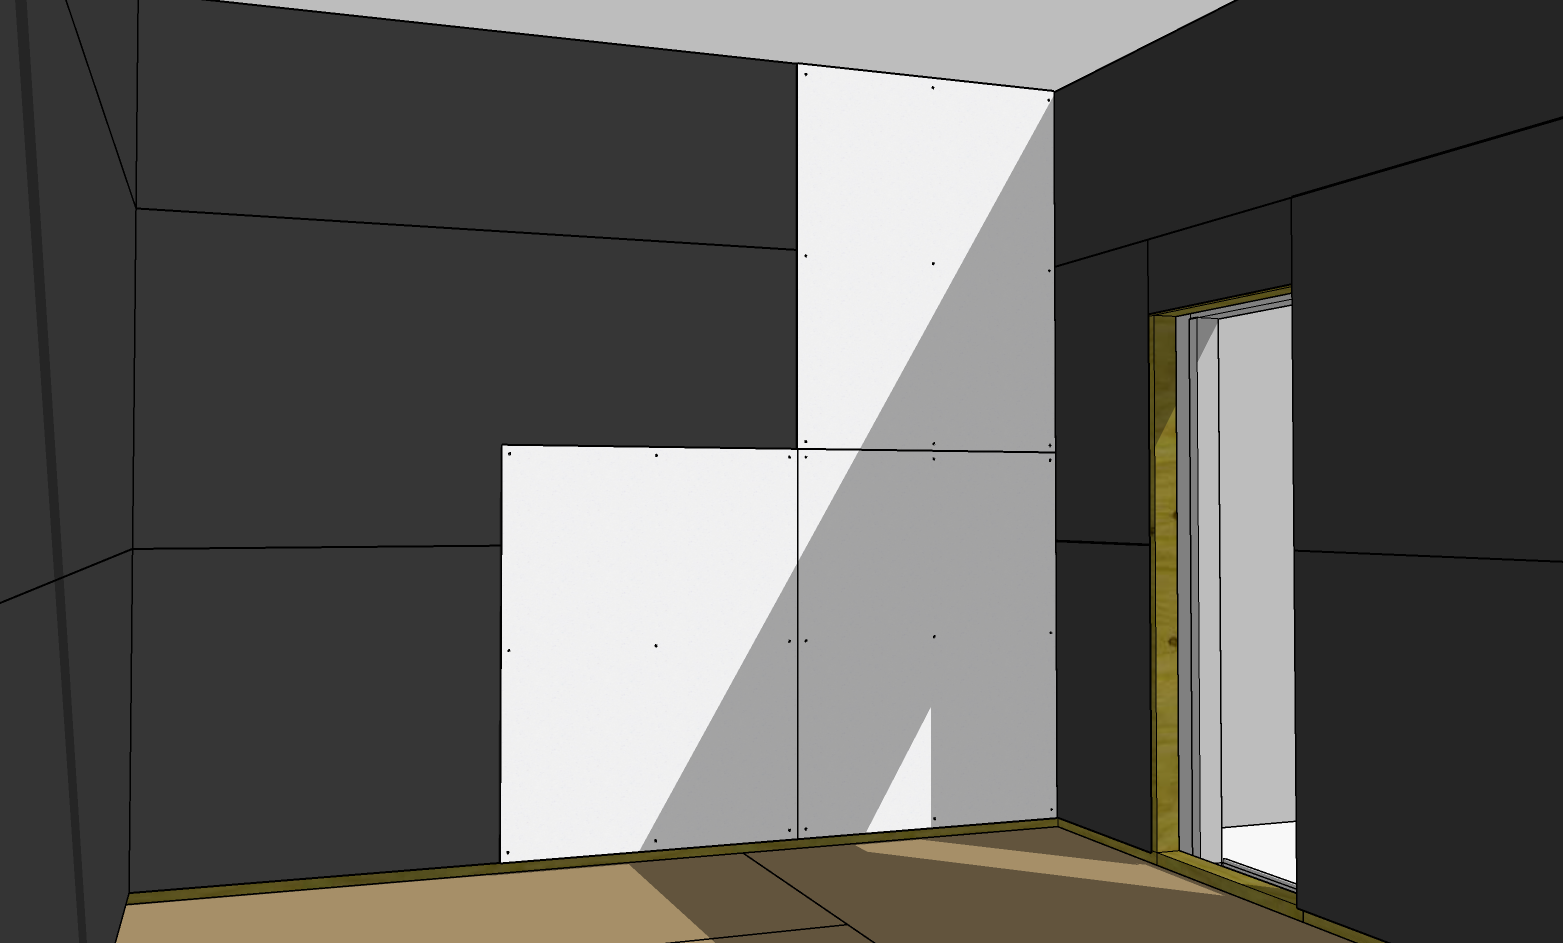
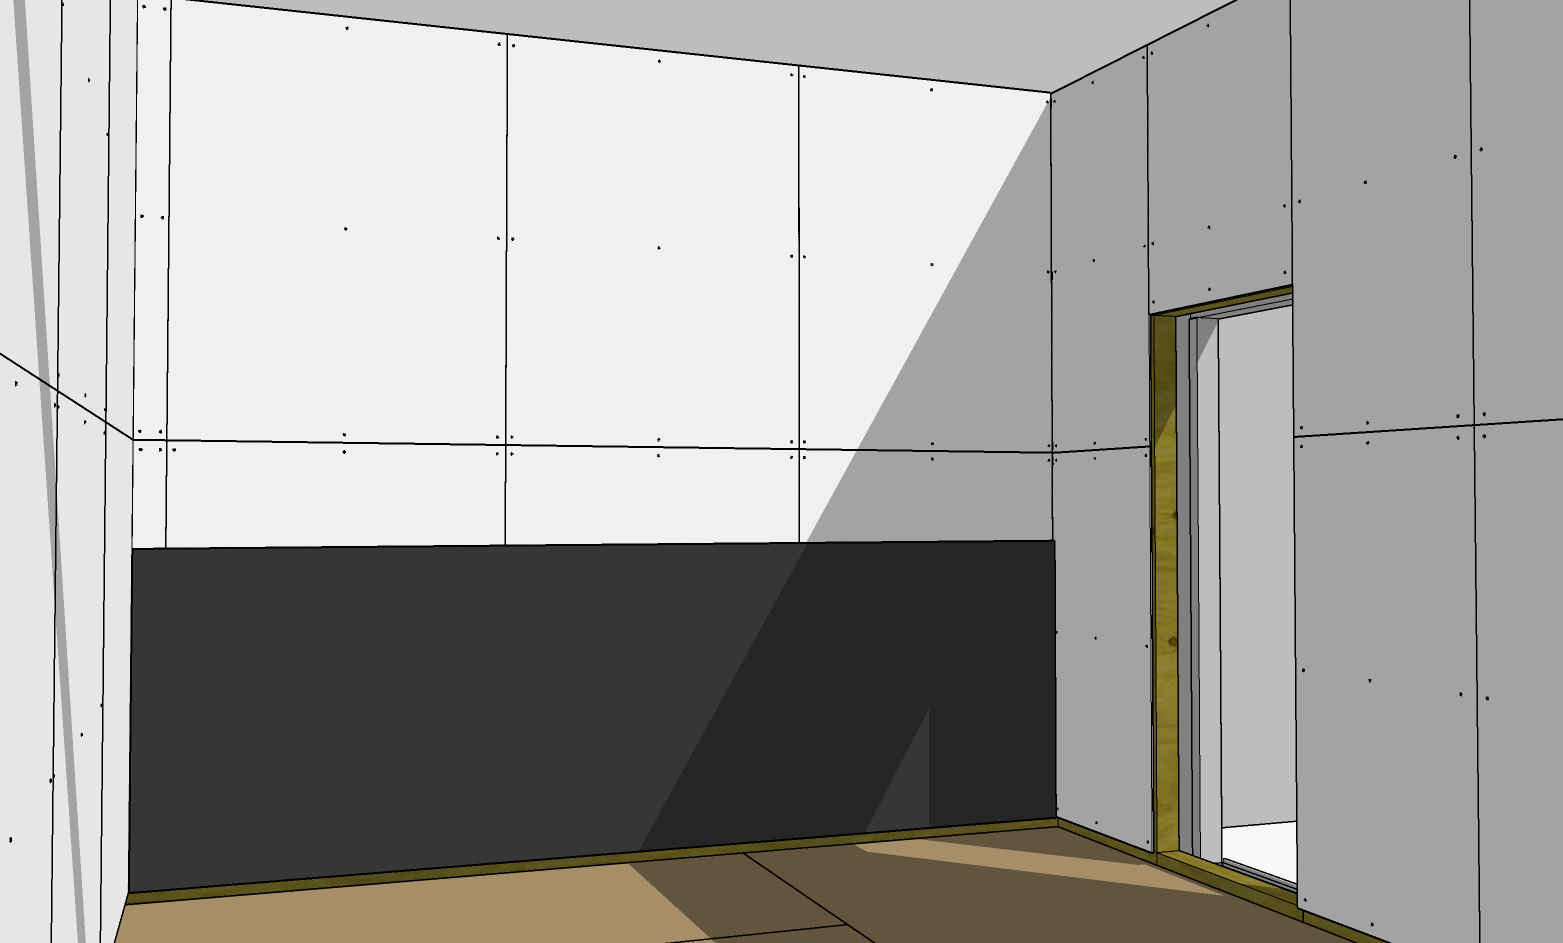
Install a second layer of drywall, ensuring to fasten the drywall panels to the underlying Resilient Channel.

Complete the second layer of drywall panels and further seal any seams with a fine bead of StopGap™ Sealant. If you are building a sound isolating ceiling as part of your project, wait to complete the ceiling before applying jointing compound and paint to the walls.
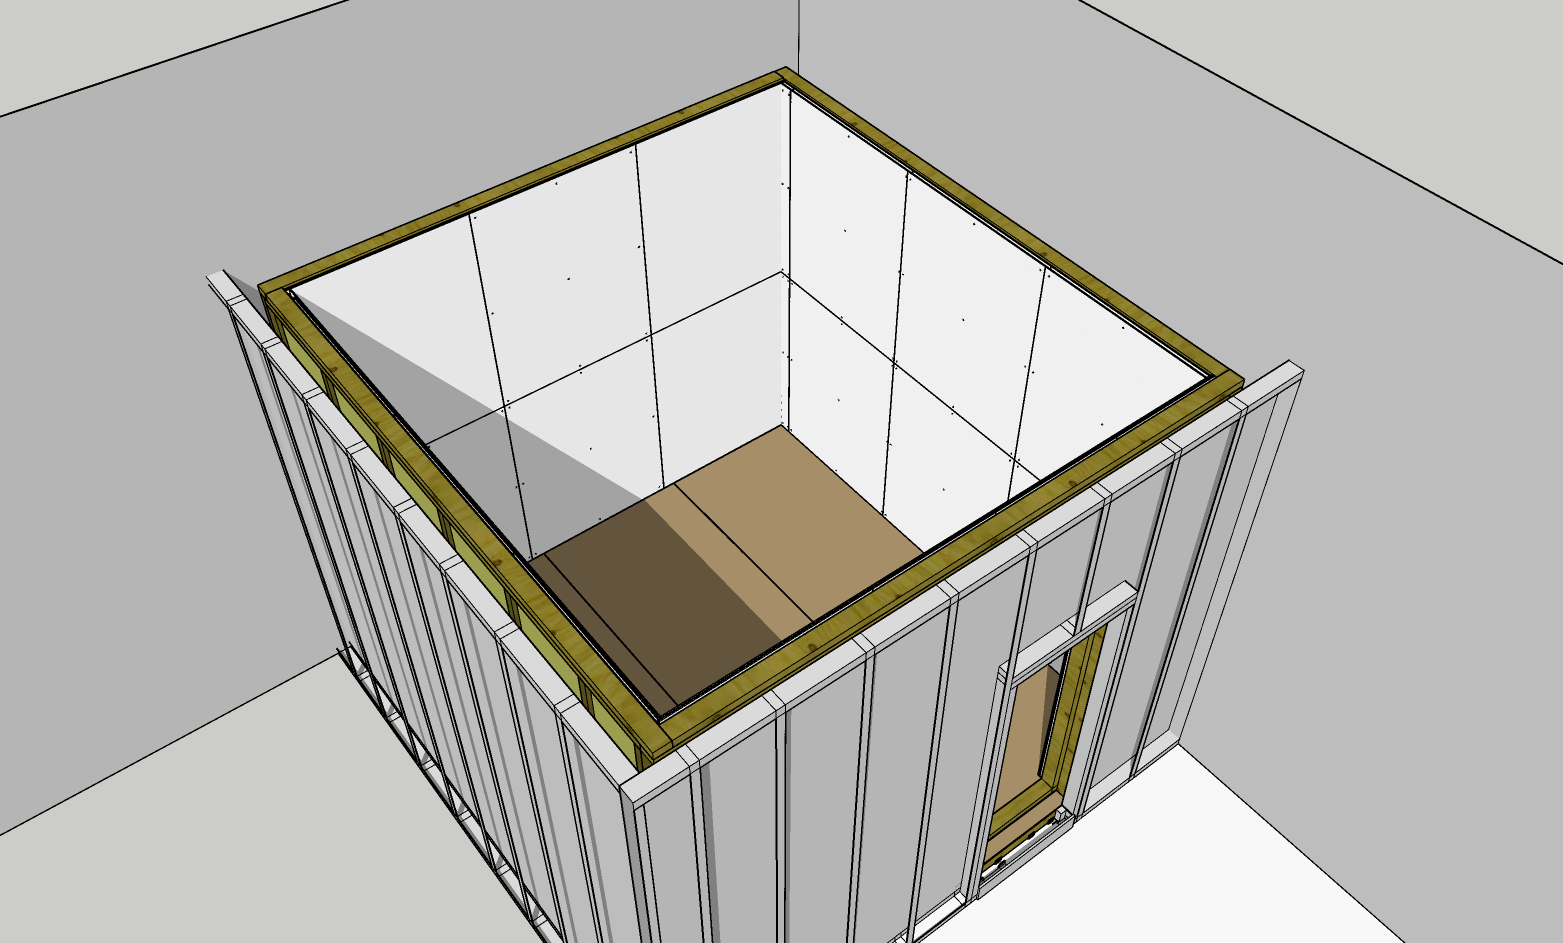
Above: Example of how the completed project might appear inside the existing structure.


