
Sound-proof your Space: A Guide on How to Build Interior Sound-Isolating Walls
Posted by Auralex on 1st Aug 2023
Sound-proof your Space: A Guide on How to Build Interior Sound-Isolating Walls
Whether you're a professional musician, sound engineer, podcaster or just want to enjoy the ultimate listening or watching experience at home, sound-proofing your space is essential. The good news is, while it may sound daunting and expensive, sound isolation can easily be achieved by installing interior sound-isolating walls.
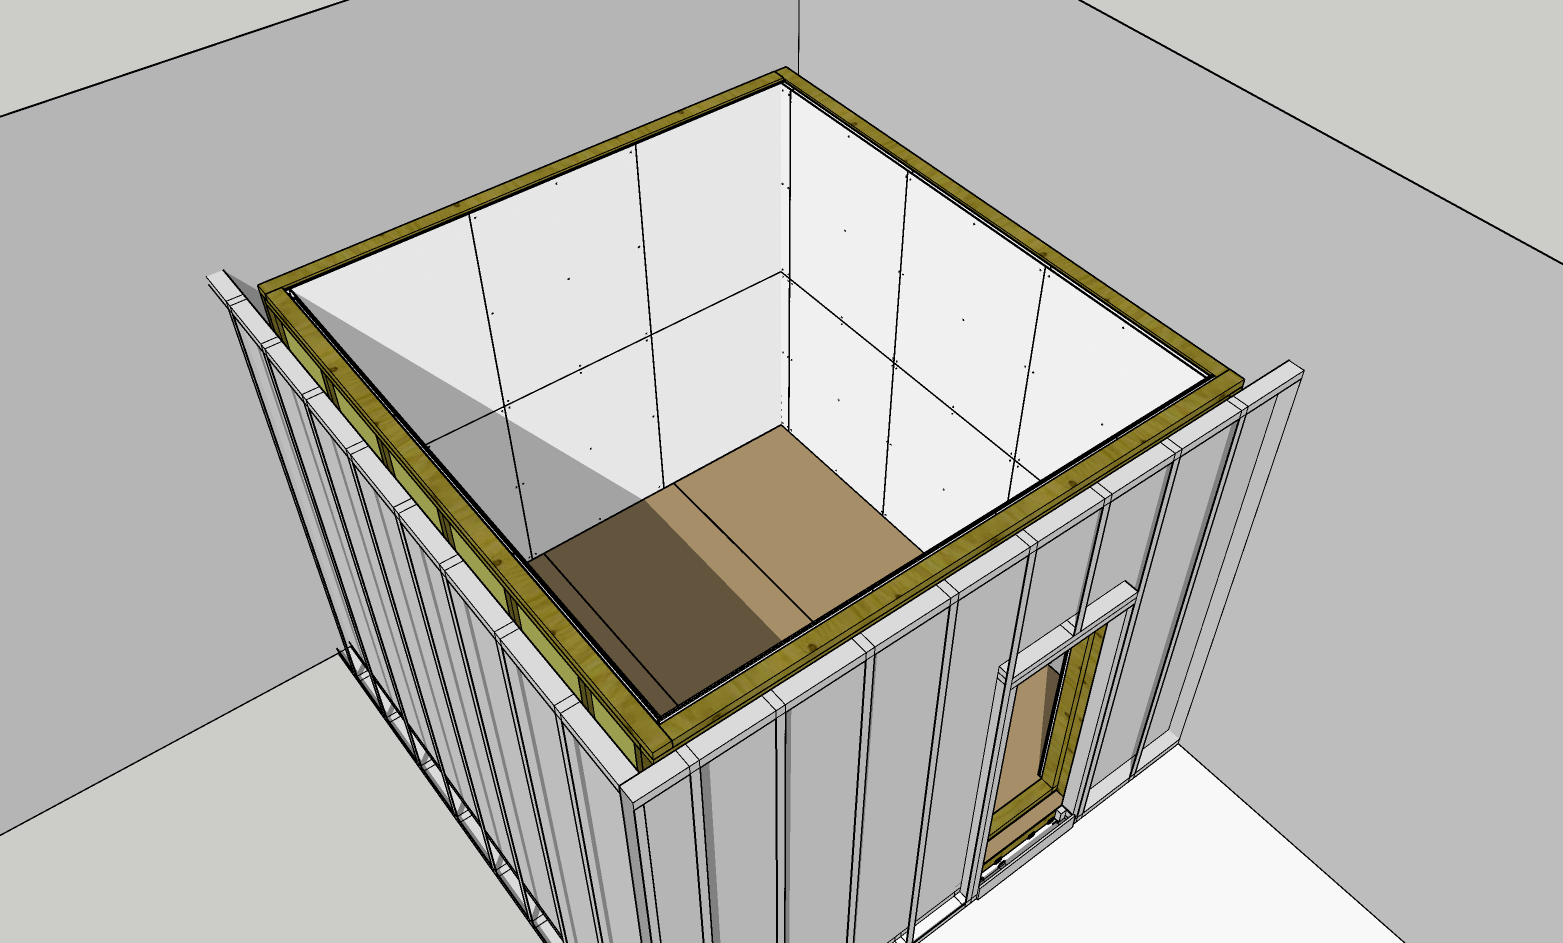
The following is a simplified guide that compiles Auralex's recommendations and product information regarding building an isolated space using what is commonly called "room-within-a-room" construction. To achieve the best results possible with this material stack-up, it is necessary to "float" both the floor and the ceiling and isolate all wall surfaces. Wherever possible, glue any materials together throughout the framing rather than nailing or screwing them. Where you must use screws, we recommend drywall or drywall anchor screws with weight ratings of 50 lbs or higher. Auralex does not claim the effectiveness of this method if one or more surface is left un-isolated.
Project Overview
Estimated Material Cost: $10/sq ft
Time: 3-4 Days
This guide will walk you through the steps to building sound-isolating walls for your recording studio or home theatre.
Step 1: Start with the Right Materials
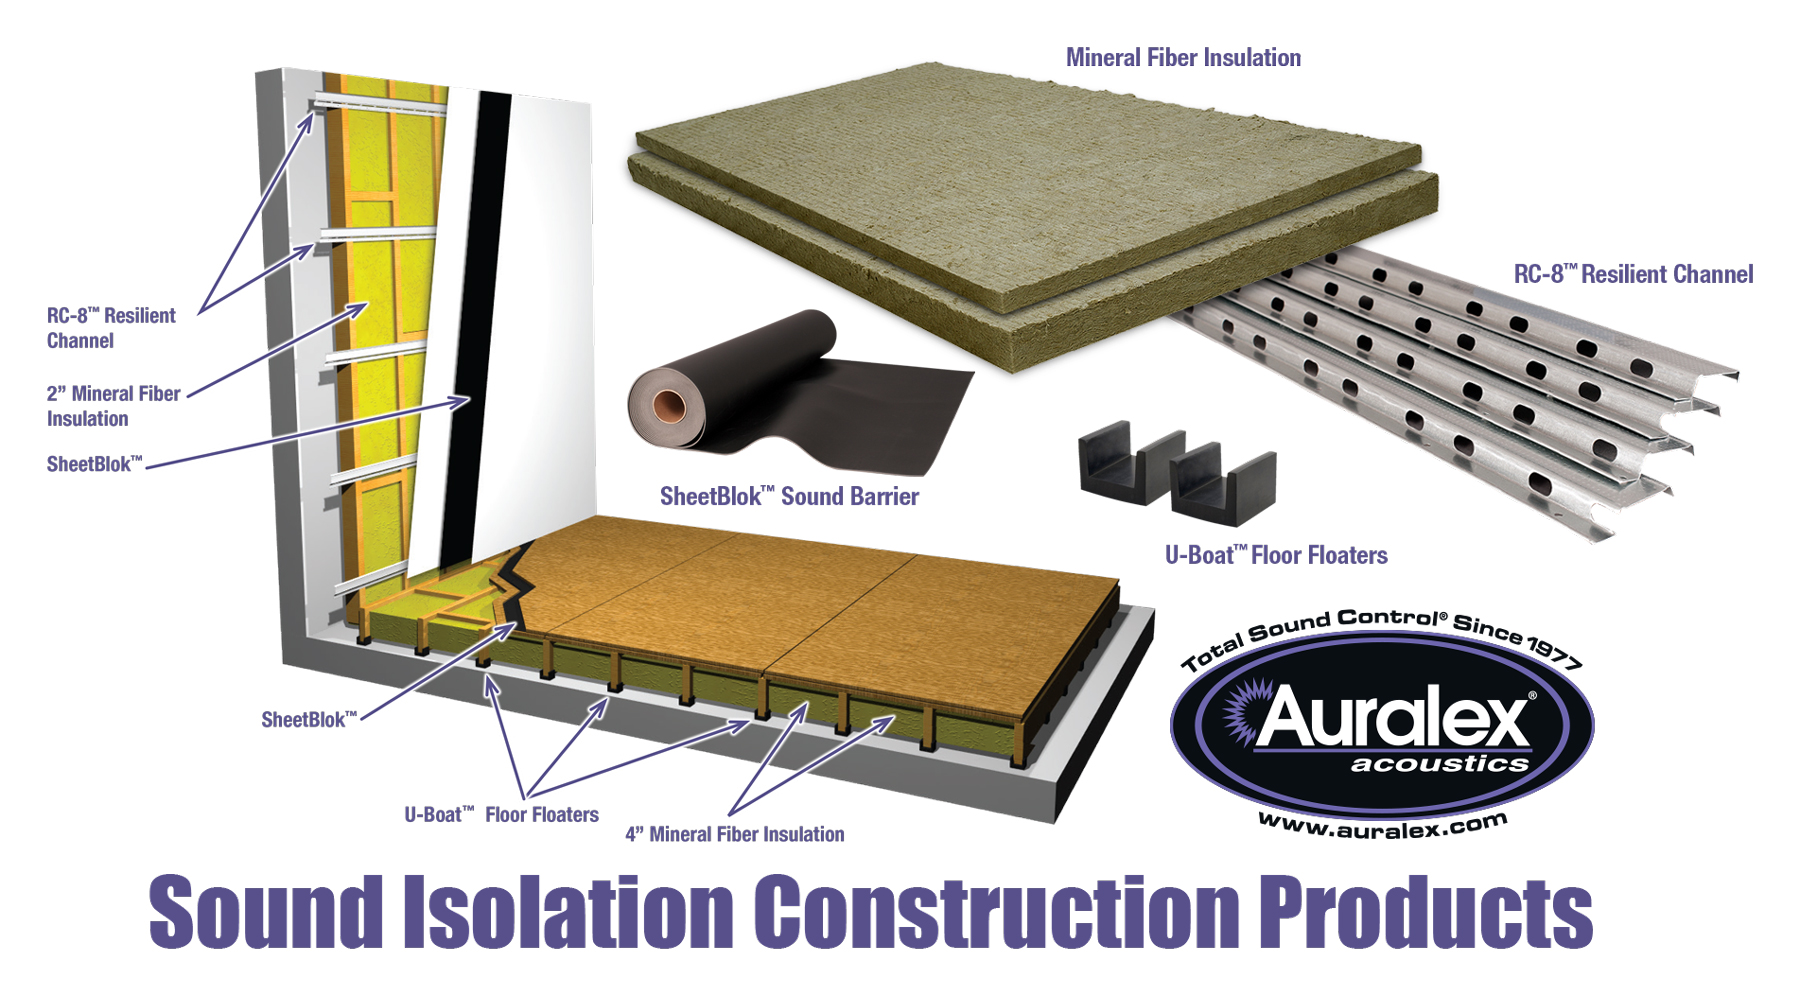
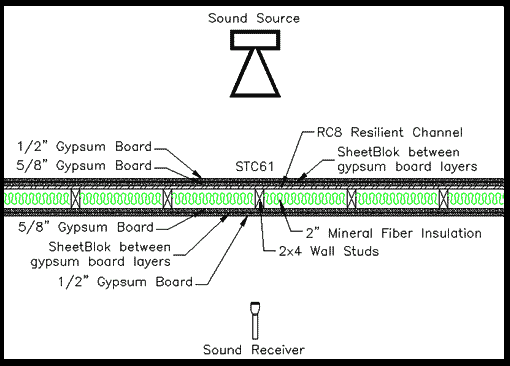
The materials you choose for your sound-isolating walls should have high levels of sound control. Four components we feel are critical to appropriate construction techniques are Auralex Mineral Fiber insulation, SheetBlok™ Sound Barrier, our RC8™ Resilient Channel strips and StopGap™ Acoustical Sealant. Mineral Fiber is much denser than regular insulation, so it's better thermally and helps improve your space's sound isolation while improving your room acoustics, particularly at low frequencies. SheetBlok is only 1/8" thick but is more effective than solid lead at stopping sound transmission. It also imparts some all-important controlled flex critical for sound isolation and improved low-frequency accuracy. RC8 Resilient Channel is used to stand your wall/ ceiling layers off the studs or joists, thus improving your sound isolation and room acoustics. StopGap is a highly elastic, water-based sealant that reduces sound transmission at the perimeter of wall systems or around electrical box cutouts to achieve specified STC/MTC values. StopGap will achieve a Sound Transmission Class (STC) of 53 when applied properly. It is advisable to caulk all edges, seams, corners, and holes - especially where different materials meet. Leave about a ¼" gap in parallel seams and perpendicular corners. We recommend a 3/8" bead.
Step 2: Build a Framework
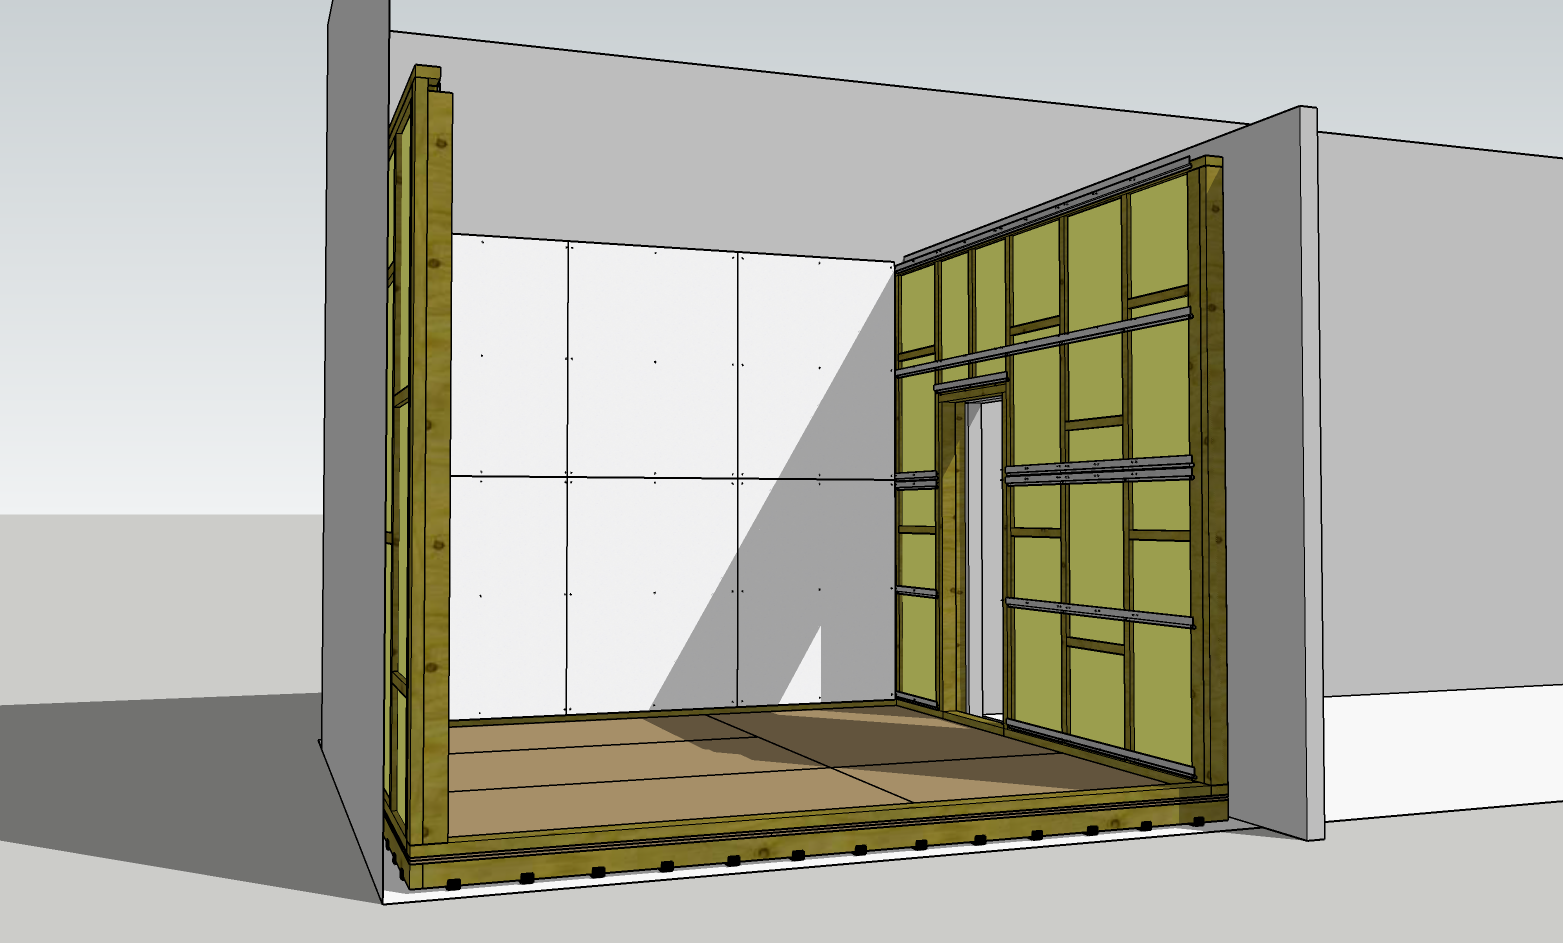
The next step is to create a framework to hold the sound-proofing materials in place. There are two significant ways to consider building this system: the first is to build the wall segments on the existing floor, and the second is to build the wall segments on top of the floated floor. For information on building a floated floor, check out our blog post at sound-isolation-basics-how-to-build-a-floating-floor/. Vibration and lower frequencies can travel much more easily through a solid shared subfloor, like a concrete slab. If you seek maximum isolation, the latter option is much better. When anchoring to a concrete slab, consider isolated bolt mechanisms, which provide rubber grommets for the solid bolt to go through and isolate from the sill plate. Also, note the airspace that separates the new wall structure from the existing one. This is important to help further decouple the space. 1" minimum and 2" is advised; after that, airspace offers diminishing returns for further sound isolation properties. If you must attach the wall, make sure to run StopGap at the juncture of the two sections. When building the wall framing, we recommend lining two layers of SheetBlok Sound Barrier underneath it to decouple it from the floor surface.
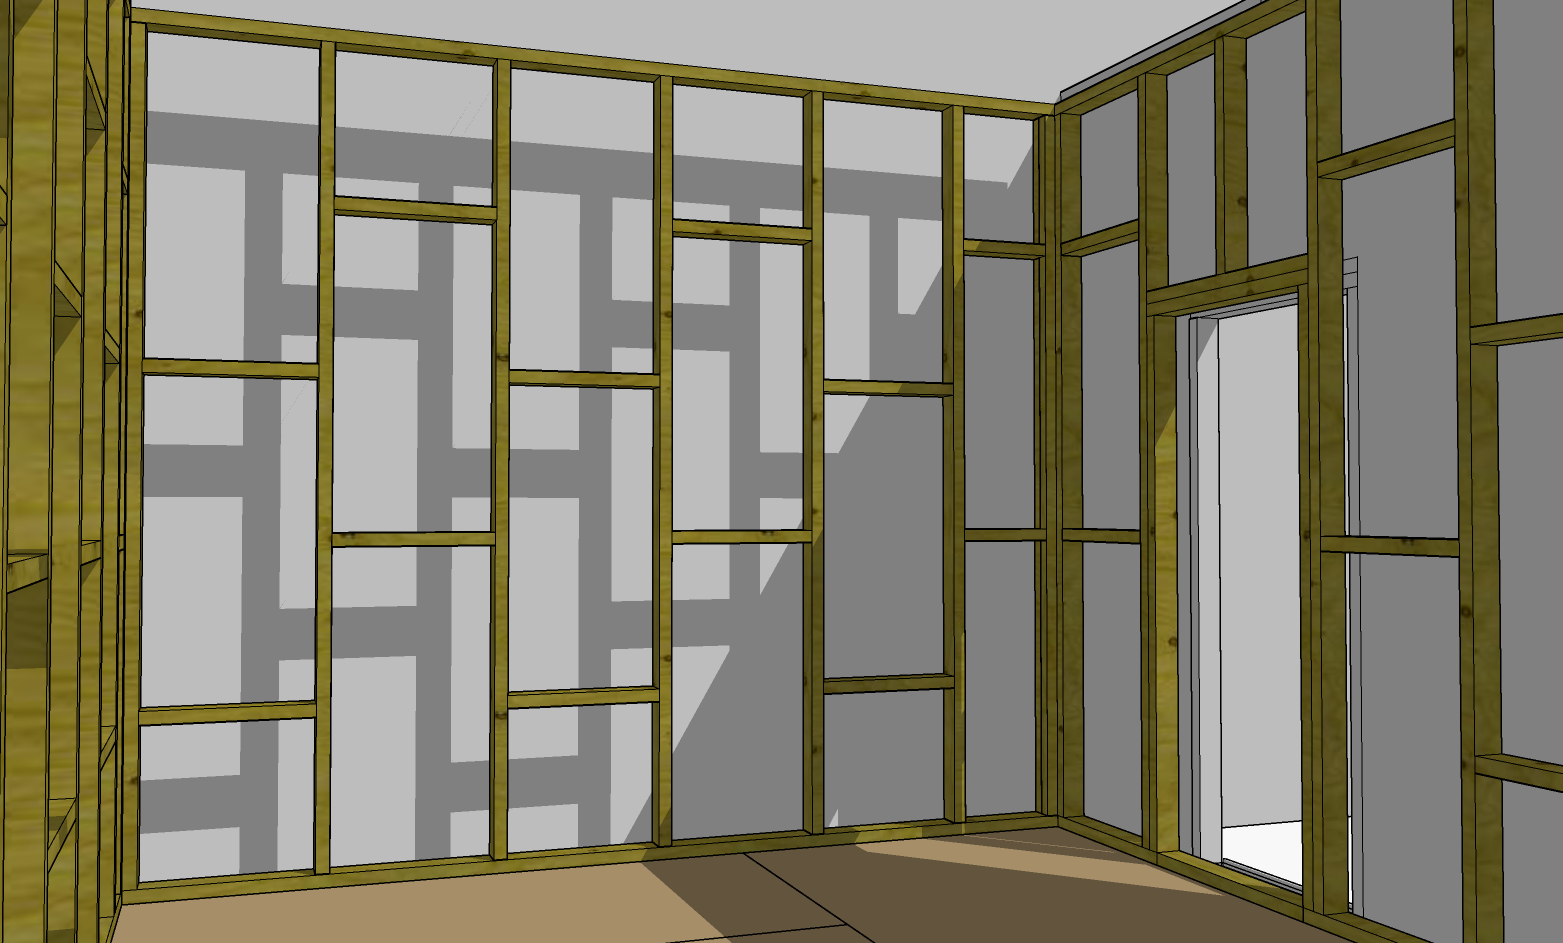
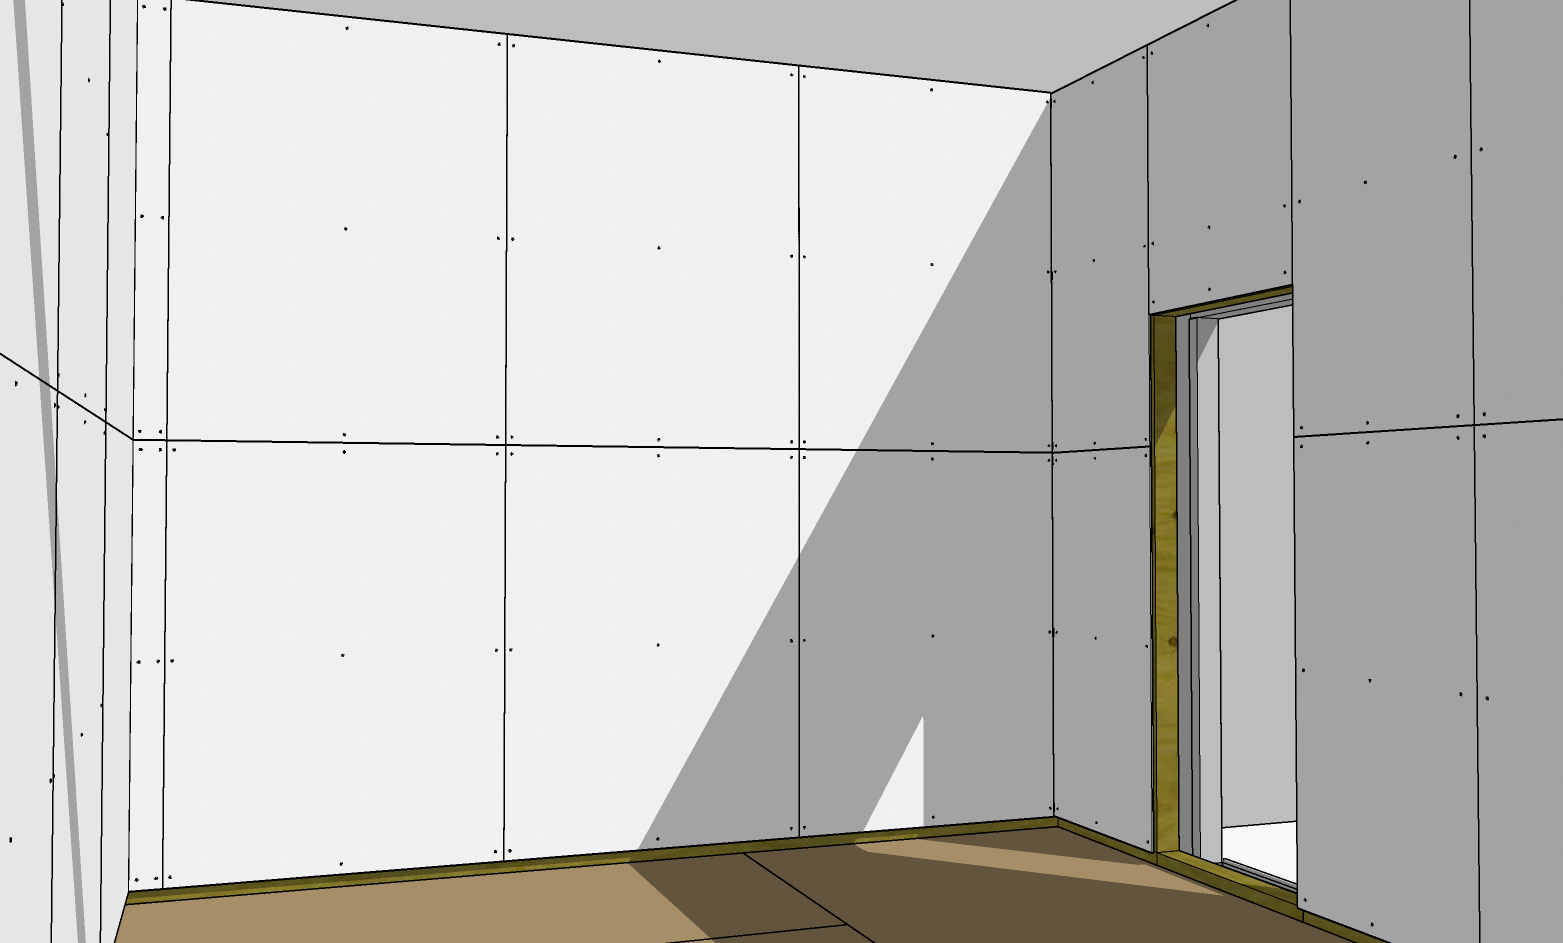
The most common wall framing is 2'x4' wood studs or 3.5" metal studs. While wood may be easier and more cost-effective, metal does offer superior resiliency benefits for acoustical purposes. An additional option is to add stringers within the wall frame. Stringers are short (14½" typically if your studs/joists are 16" on center) pieces of the same material as your joists that run perpendicular to the joists and are nailed and glued between them in a random, staggered fashion. Stringers can help secure the absorptive materials placed within the studs.
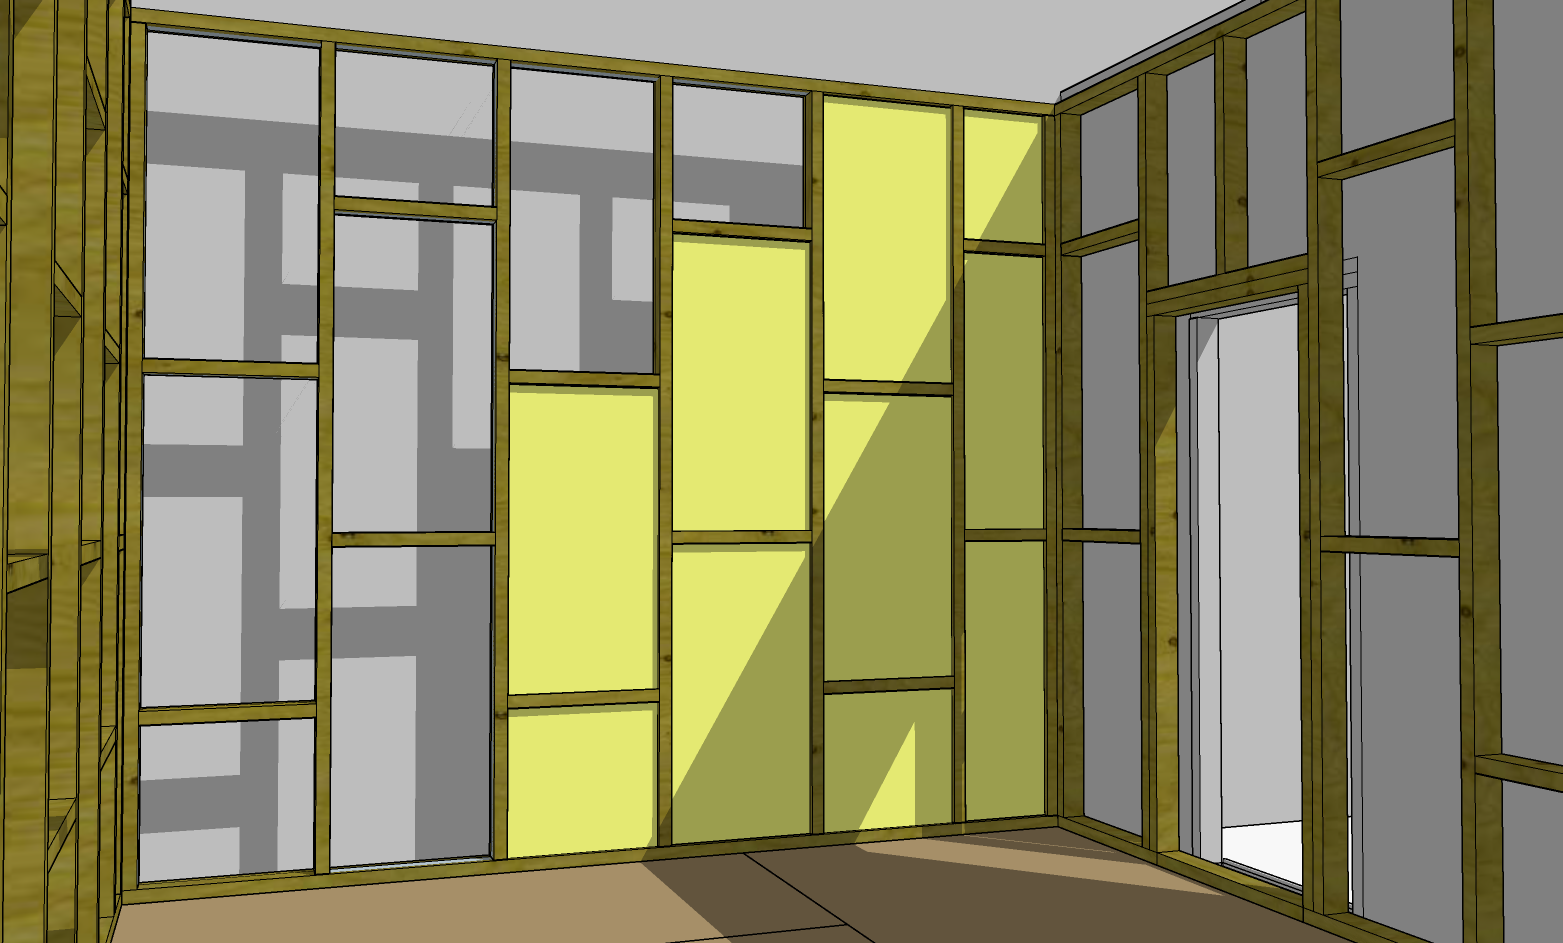
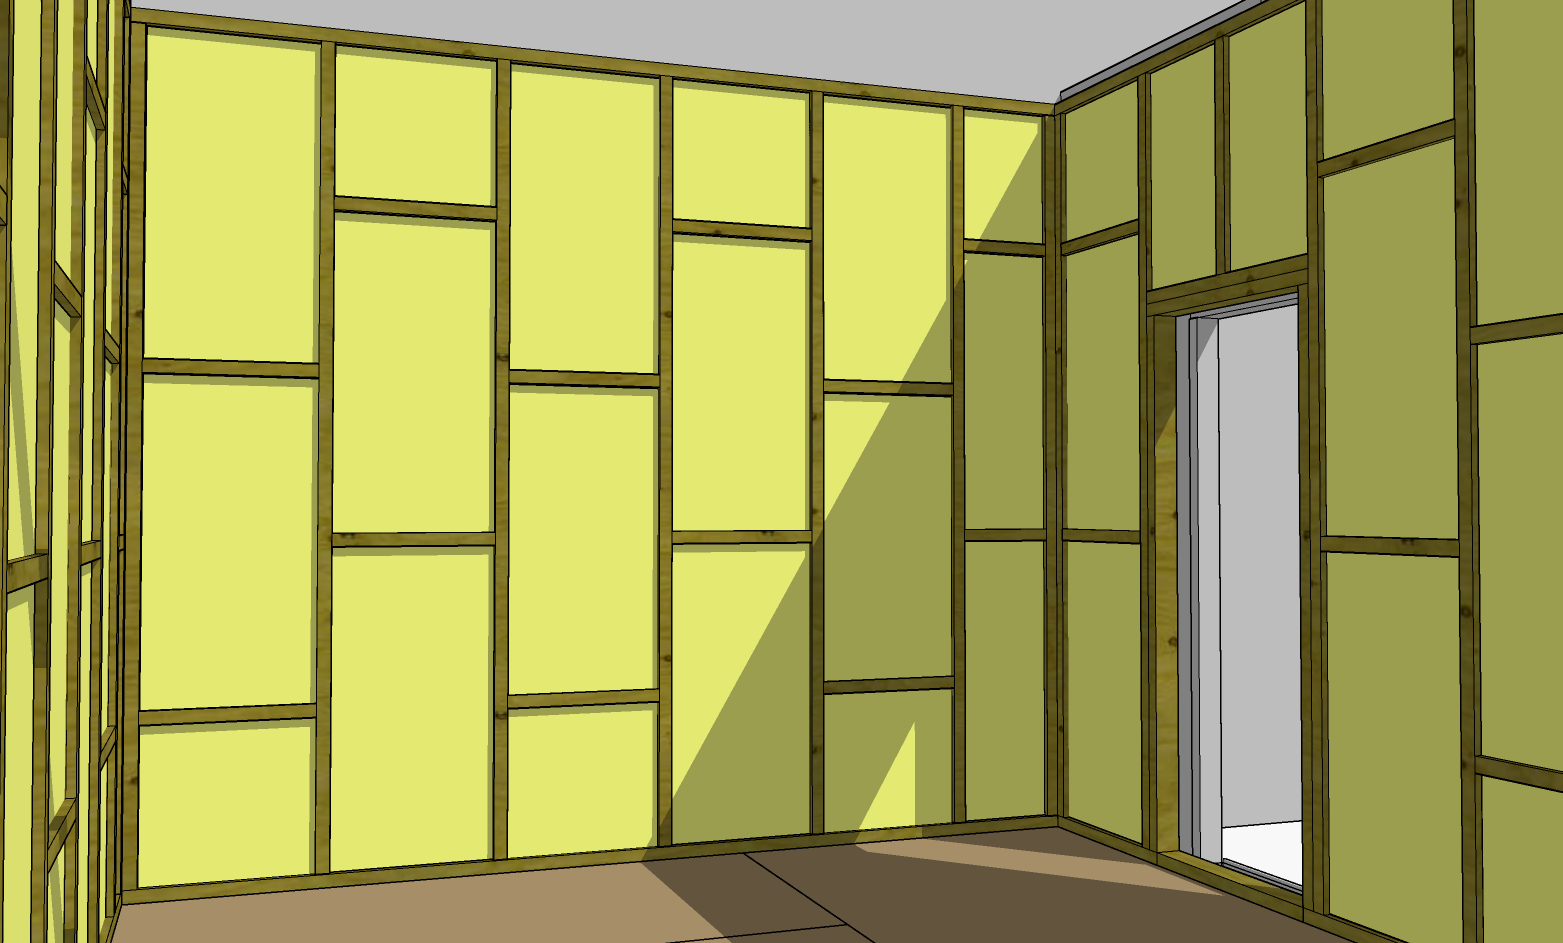
Step 3: Install Mineral Fiber Insulation
Once your framework is in place, it's time to add insulation and absorptive materials to the new wall cavity before adding the sound-proofing materials. Place Mineral Fiber Insulation in between the stud work in the wall framework. Mineral Fiber is available in 2" and 4" thick 2'x4' panels and can be easily cut or trimmed to fit in smaller spaces. These panels should be placed between the studs, filling every irregular gap and breach in the wall cavities. The insulation will help to keep sound from leaking in or out of your space, while the absorptive material will help to mitigate sound waves that have infiltrated your room.
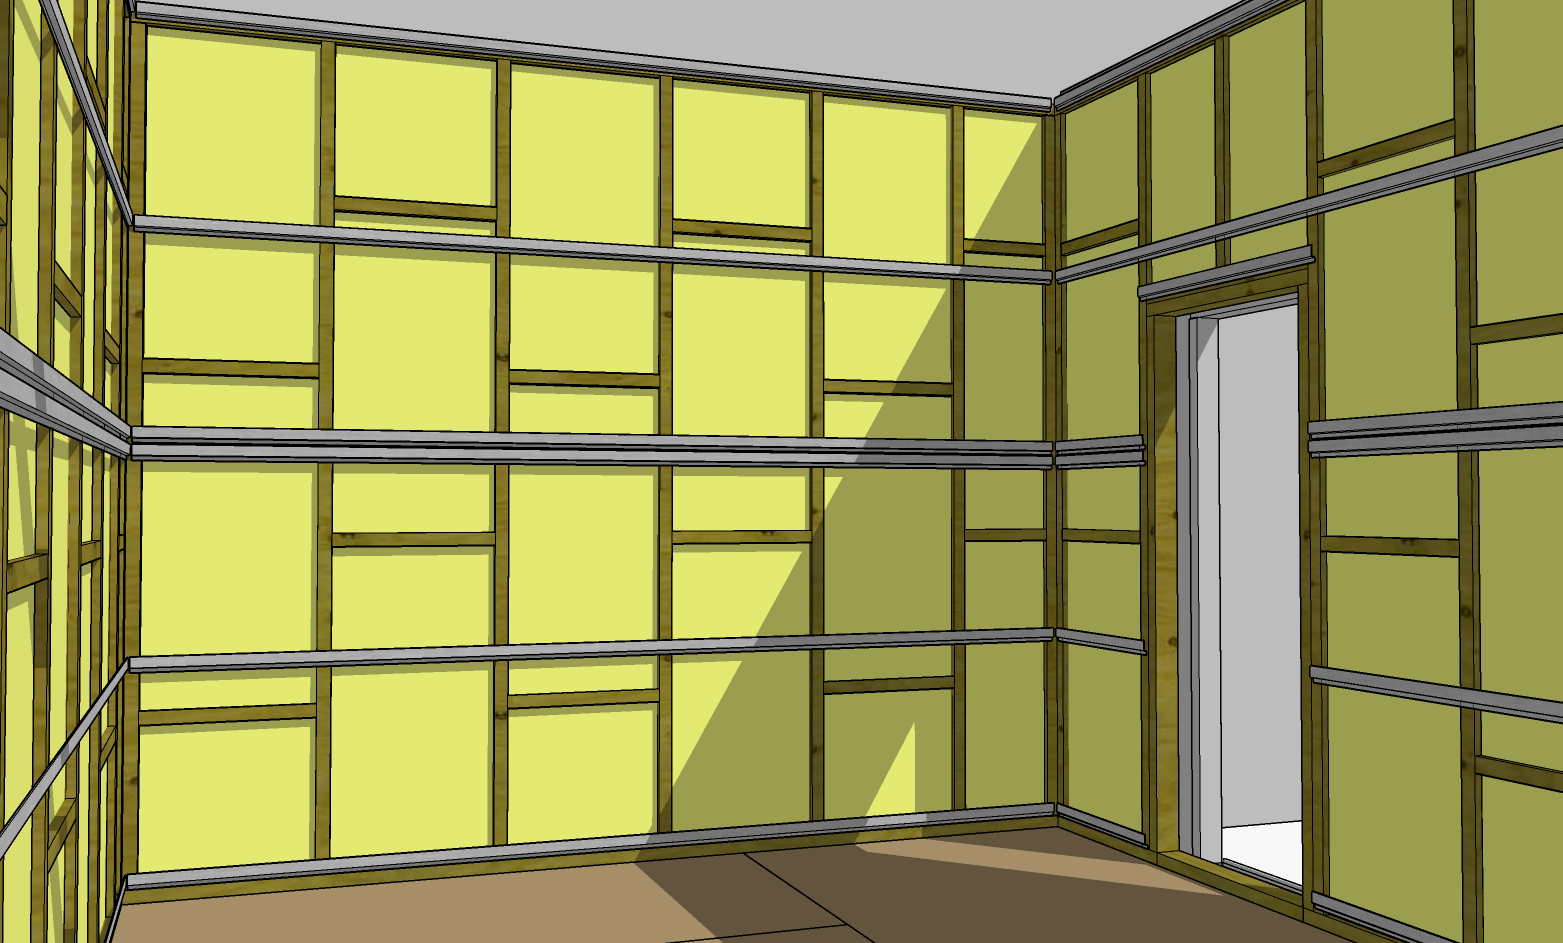
Step 4: Add the Sound-isolating Materials
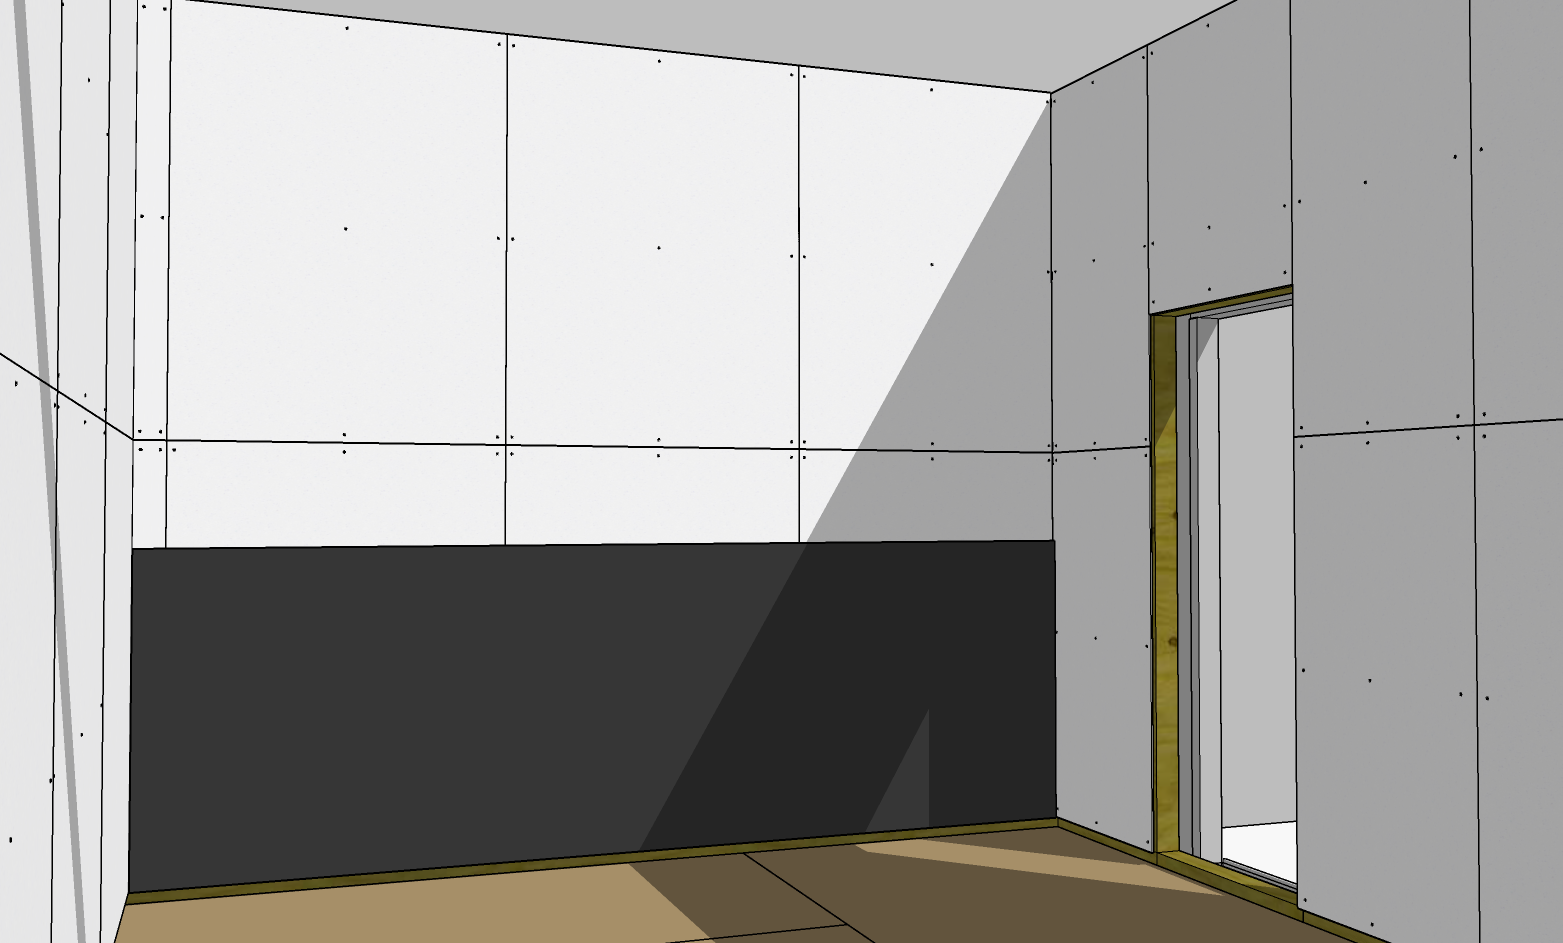
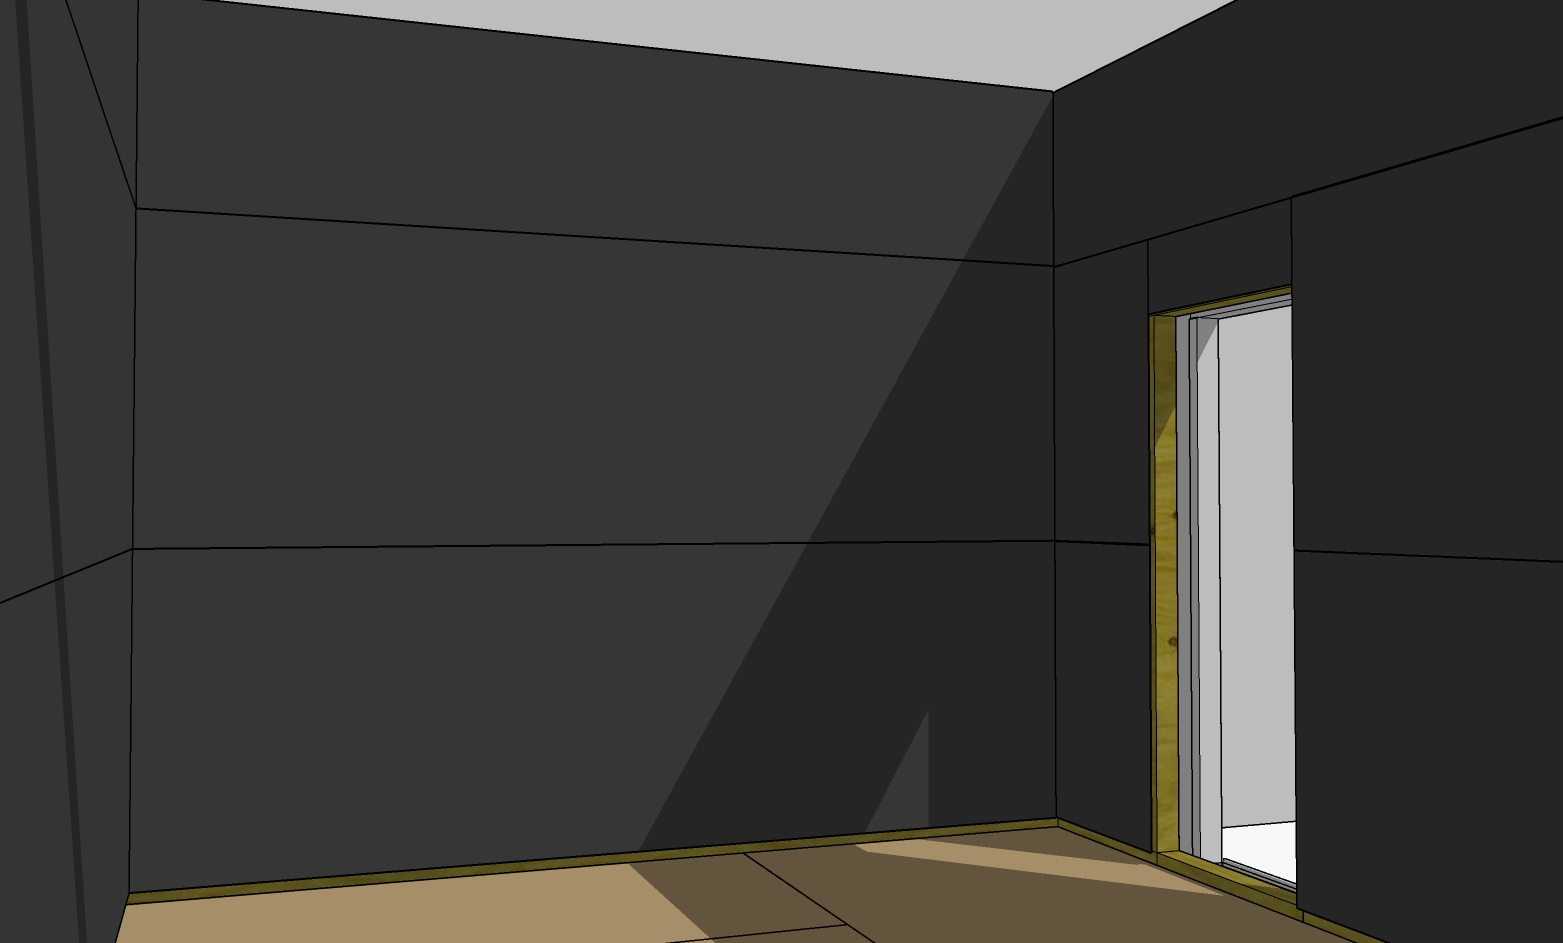
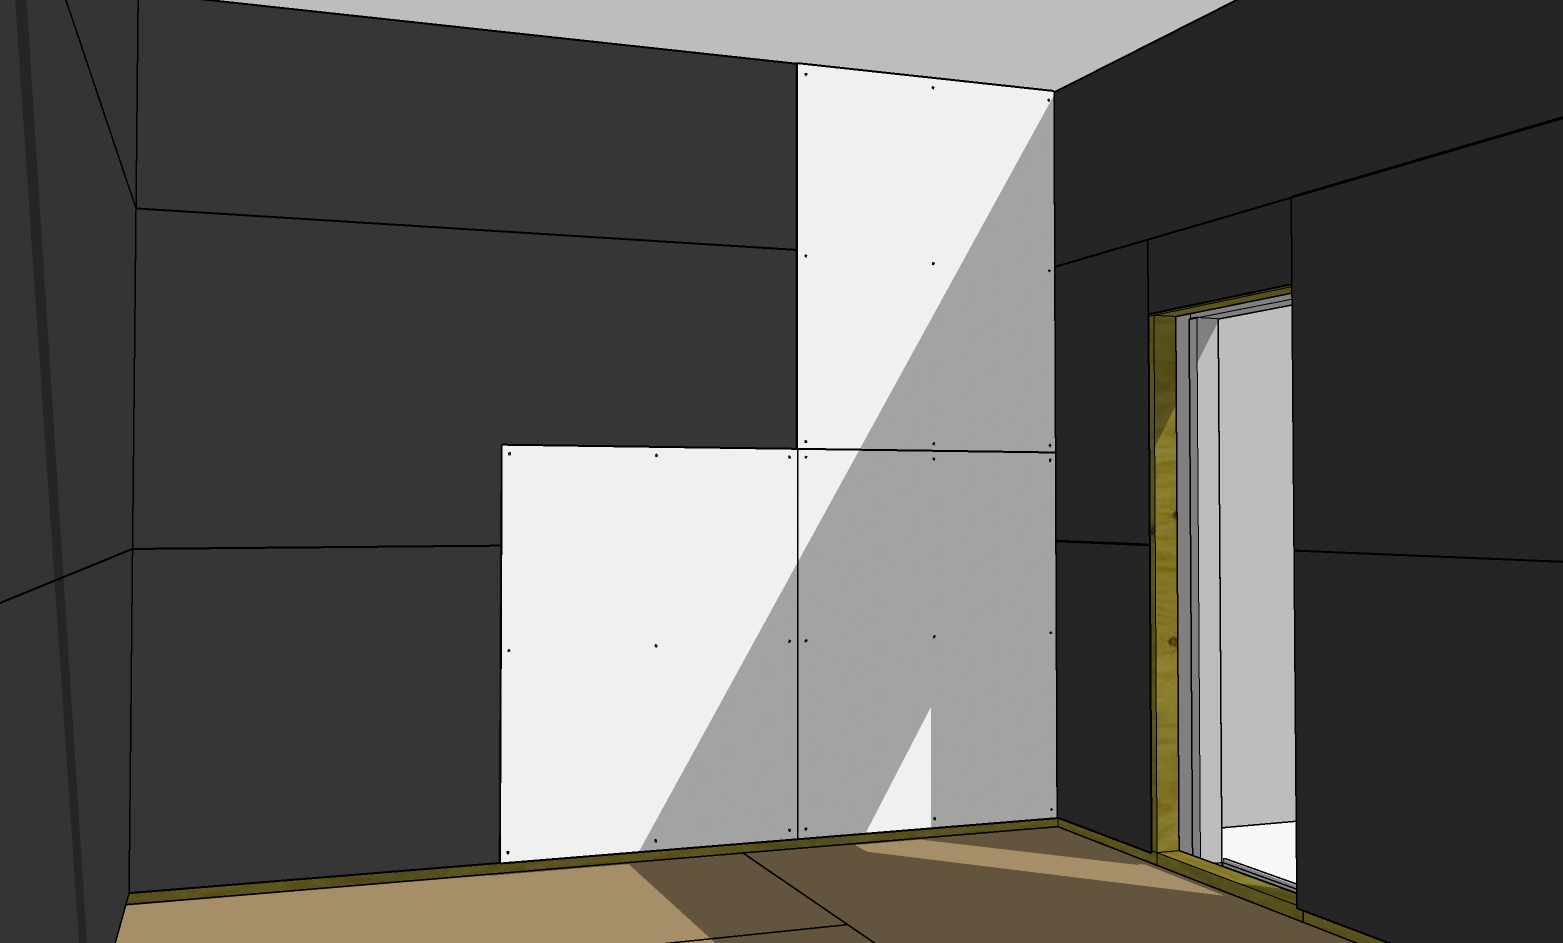
The next step in the process is to add the RC8 Resilient Channel, drywall and SheetBlok Sound Barrier sound-isolating materials. Mounting drywall to the RC8 Resilient Channel is an integral part of this layer. RC-8s are specially shaped metal channels to which gypsum board or other building materials can be mounted to isolate them from the framing members (studs) of a wall or ceiling. This isolation helps improve the structure's ability to block sound transmission. RC-8 should be installed horizontally at the bottom and top of your wall, then every 2' or less in between. Up to (2) layers of ⅝" drywall and a layer of SheetBlok may be hung on RC-8, even on a ceiling. SheetBlok can be hung on the framework using nails, staples, or adhesive, making sure to overlap each layer to achieve the best results. Joint compound, compound tape, or StopGap can cover and seal the gaps and screws to the drywall.

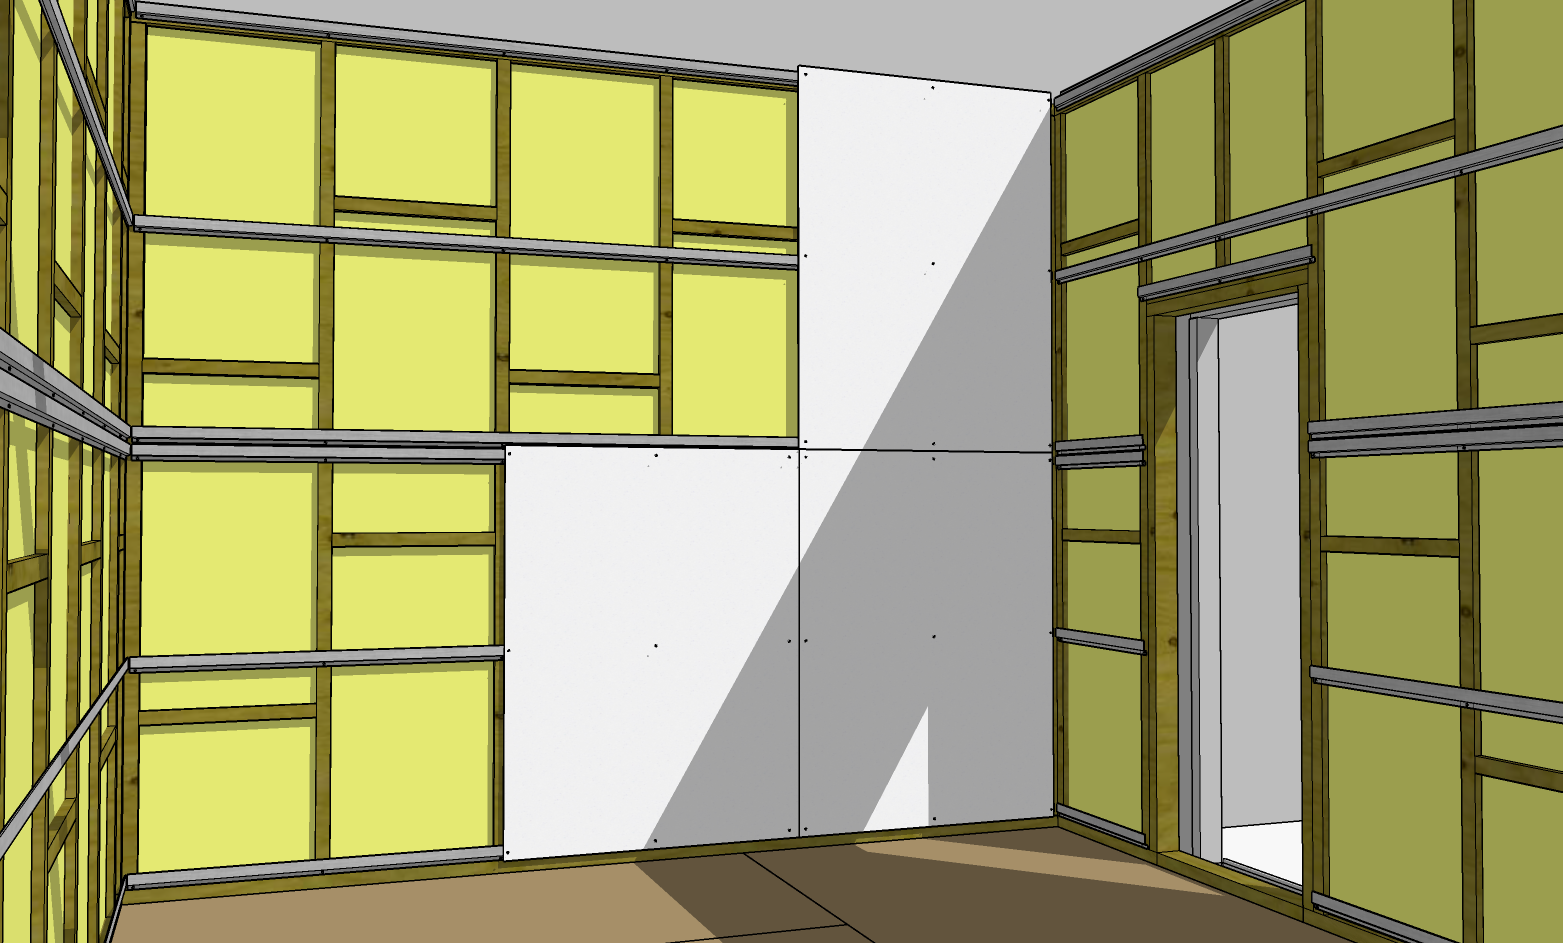
Step 5: The Final Layer
Finally, you need to complete the process by adding another drywall layer. Joint compound or compound tape can cover and seal the gaps and then paint or apply wallpaper to the finished drywall for an aesthetically pleasing finish. This is the layer that you can place acoustical treatment within the room using Auralex Studiofoam®, ProPanels™ and Diffusors to tame reflections.
Step 6: Evaluate Your Sound-proofing
Finally, you need to evaluate the sound-proofing in your room. You can use a sound-level meter or your smartphone's decibel meter app to do this. Stand in the room and have someone make some noise outside the room, evaluating the effectiveness of your sound-proofing measures. Following the guidance above, you should have a sound-proof space to yield much-improved recordings, mixing and listening.
Conclusion:
Building an interior sound-isolating wall requires the right materials, framework, insulation, and absorptive materials. Following a few simple steps, anyone can install sound-isolating walls in their home theatre, recording studio, or any other room to enjoy a sound-proofed space. Proper sound isolation will dramatically improve your listening or recording experience by eliminating all kinds of external noise distractions. As a result, upgrading your space with sound-proofing measures is a worthwhile investment, whether for professional or personal purposes.
For information about constructing a Floating Floor, visit: sound-isolation-basics-how-to-build-a-floating-floor
Guides Referenced in this Project
- What's the best method to install SheetBlok?
- How effective is RC-8 Resilient Channel and how do I use it?
Auralex Products Used in this Project
Construction Materials Used in this Project
- Wood or Metal Studs and Joists
- Drywall/Gypsum Board
- Mechanical Fasteners & Adhesives