How to Make Your Home Studio Sound Better
Posted by Kevin Booth on 8th Apr 2020
Many factors are essential to the overall sound of your room. One of the most commonly overlooked factors is the size and shape of the space, along with its surface materials. A rectangular room is the most predictable in its response. The surface materials of the walls, floor, and ceiling may be more reflective and increase the need for acoustic treatment. These will significantly affect the accuracy of the sound in the room, regardless of the equipment you are using. Even if your room is less than perfect, acoustic treatment in a space can help control sound considerably.
The science behind acoustics can be complicated, but there is a generally agreed-upon approach as to where treatment makes the most noticeable difference. Let’s walk through some of the underlying logic behind where and why we place acoustic treatment.
- If you have speakers, you should move them and your listening position away from the wall/corners of the room.
- Symmetry is one of the most important things to consider. The distance from you and your monitors on your left and right should be.
- A wall, hallway, door, or opening should not exist on the opposite sidewall as it interrupts the symmetry of the room.
- Another common problem is low-frequency buildup, especially in corners of the room. This buildup makes proper bass trapping very important in smaller spaces. Low-frequency energy needs space to develop to prevent reflections into the mix position, which, if untreated, skews your perception of low frequencies as coming from your studio monitors. Effective bass trapping absorbs a measurable amount of low-frequency energy and prevents it from reflecting into the listening position.
Finding the “Sweet Spot” AKA Set-up Your Mixing or Listening Position:
Before treating the room, you should ensure you are getting the most out of the sound in your space. Move your mix/listening position to the 38% point of the room. This method, developed by world-renowned studio designer Wes Lechot, works very well in the majority of rectangular studios. To figure out this position, take the longest dimension of your room and multiply it by 0.38 to get 38% of the overall length. Locate your chair/listening position at this spot for the best mix/listening reference.
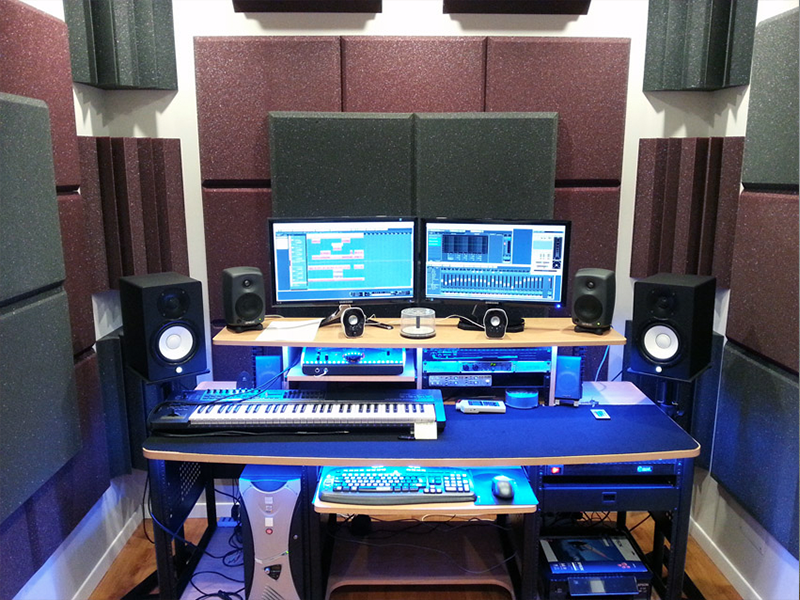
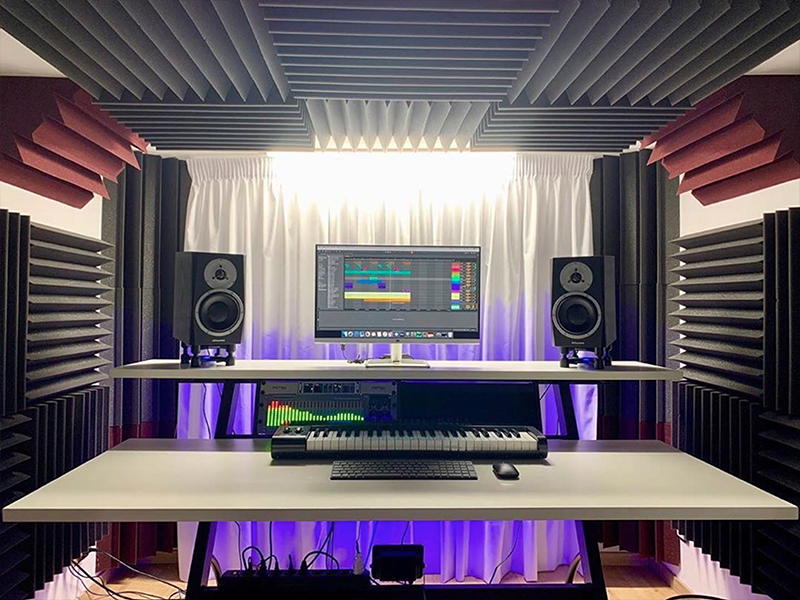
As stated above, it is essential to have as much symmetry in your home studio as possible. Make sure to center your desk, speakers, and listening position in the room the best you can. Your monitors should be placed pointing at a 45° angle inward towards the listening position. Place the monitor’s tweeters at ear level of listening height. The distance between each monitor and you should be the same, forming an equilateral triangle with your ears.
Bass Trapping: An essential step for acoustic treatment in any mix room should be to place bass traps in all of the corners. If you have a limited budget, concentrate on putting bass traps (and all treatment) at ear level – about. As mentioned in the steps above, symmetry is essential to sound accuracy. So try to maintain this as much as possible.
Taming Early Reflections or First Reflection Points: This step is to place absorption treatment behind your monitors and mix position. Doing so helps to tame secondary reflections, axial modes, or slap-back echo from the front and rear walls. Reflections from the front wall boundary quickly arrive at the listening position and are perceived as direct information from your monitors. Reflections from the back wall also arrive at the mix position, but at a later time, and then smear or skew the left and right images from your monitors.
Think of the way the sound waves emanate from a speaker – they radiate in all directions on a 3D plane. This big problem is the reflections that happen after a sound wave reflects off a hard surface like drywall or a concrete floor. Reflections can cause issues such as axial modes, slap-back echo, and reverberation. To correct this, you need first to locate the first reflection points. The easiest way is to use a method called the “mirror trick.”For this you will need a mirror and a friend. Sit in the mix position and have a friend move the mirror along the wall at the same height as your monitors. When you can see the monitors in the mirror, make a mark on the wall or use tape to note that area.The locations are reflection points and where you should place acoustic treatment. Be creative, but keep in mind that symmetry plays an essential role in the effectiveness of the treatment as well as its look and visual appeal.
Add Ceiling Treatment: Directly above the mix position is often overlooked for acoustic treatments. The ceiling directly above you, in combination with the floor and work-surface area, create reflections causing problems for critical listening.
For more information and additional resources go to: https://auralex.com/content/guides/BasicsofHomeStudioGuide.pdf