How to Build an Interior Sound-Isolating Ceiling
Solid construction materials and authorized Auralex products are highly recommended. Always use appropriate safety equipment like gloves and safety glasses.
This project assumes you are building a "room-within-a-room", and that the ceiling described below is a second, sound-isolating ceiling and is decoupled from the existing structure. We recommend all walls in the pre-existing structure also be acoustically insulated and constructed with isolation in mind when possible.
Project Overview
Estimated Material Cost: $8/sq ft
Time: 1-2 Days
Guides Referenced in this Project
- Sound Isolation – What is it?
- What’s the best method to install SheetBlok?
- How effective is RC-8 Resilient Channel and how do I use it?
Auralex Products Used in this Project
- Mineral Fiber Insulation
- EcoCell™ Insulation
- StopGap™ Sealant
- SheetBlok™ Sound Barrier
- RC-8™ Resilient Channel
Construction Materials Used in this Project
- Wood or Metal Studs
- Plywood
- Mechanical Fasteners & Adhesives
1. Ceiling Framing
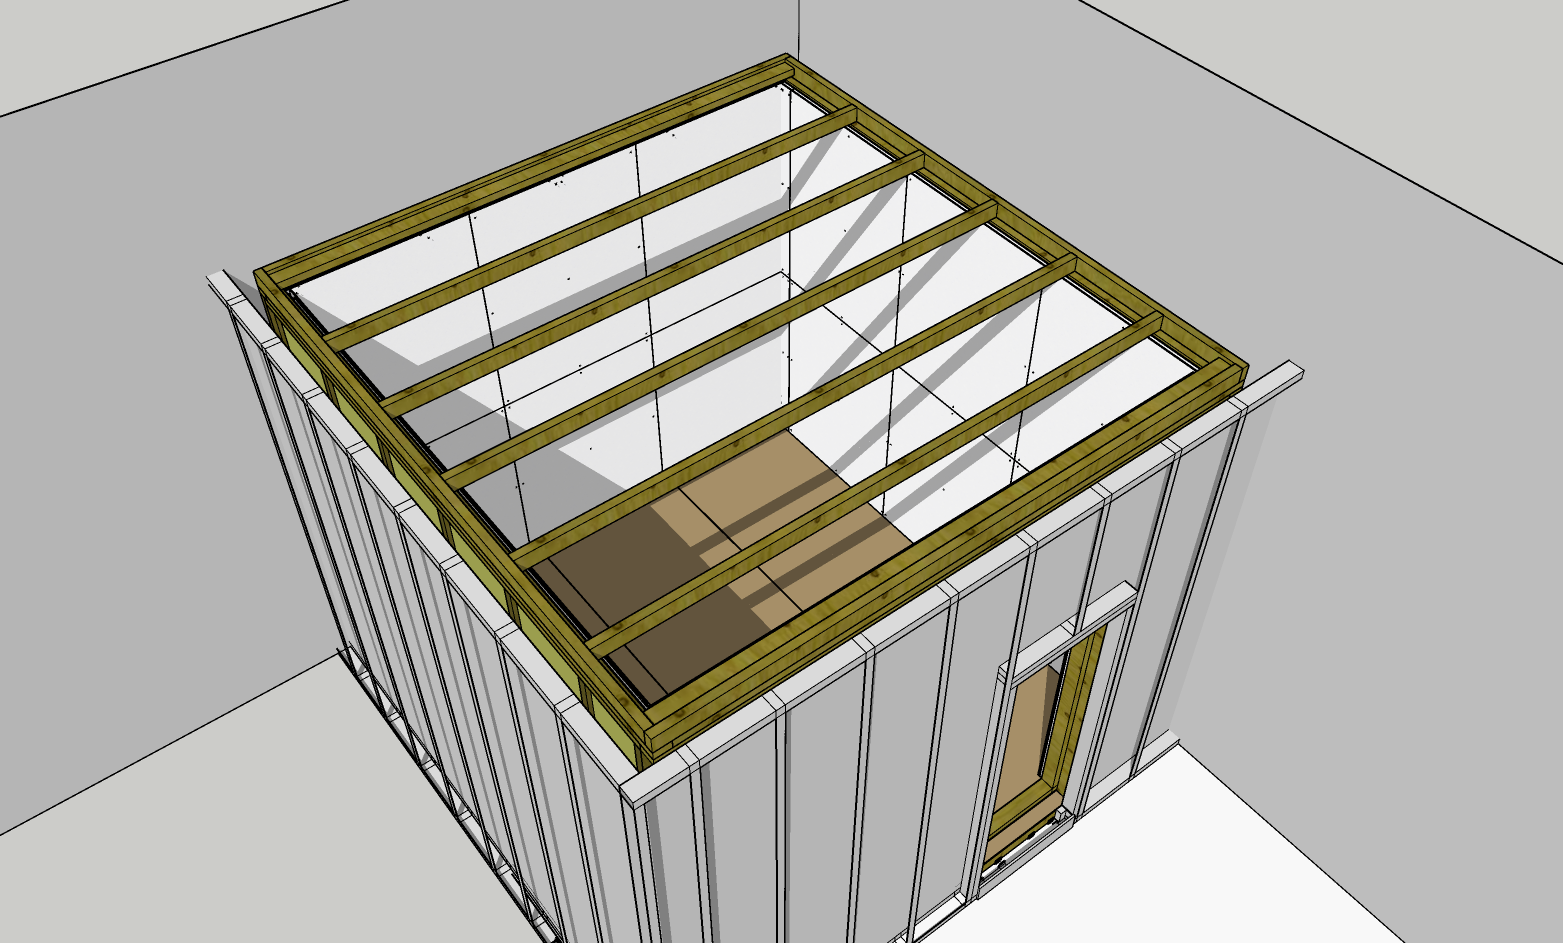
Build the ceiling frame to suit from either wood or metal studs and fasten to the interior walls. To reduce the resonance of the structure, construct wall frames using as few materials and fasteners as possible. For extra absorption, trim and place a layer of SheetBlok™ Sound Barrier between the wall frames and ceiling prior to fastening.
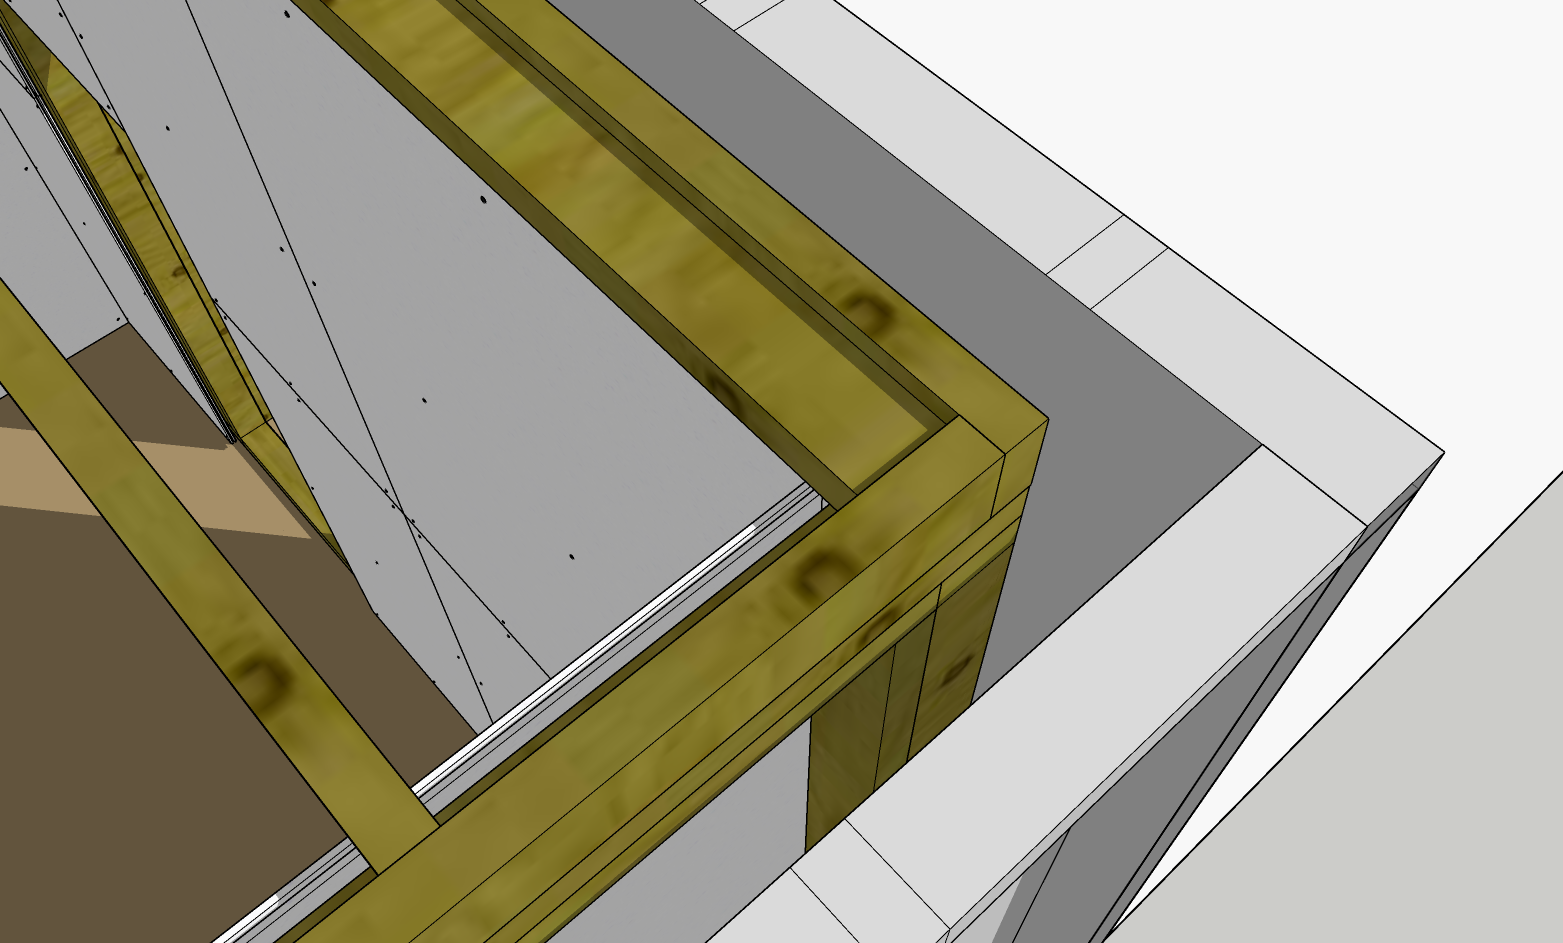
Construct the ceiling frame with an extra overhanging stud on opposite sides, allowing for RC-8™ Resilient Channel to be mounted flush underneath.
2. Resilient Channel Installation
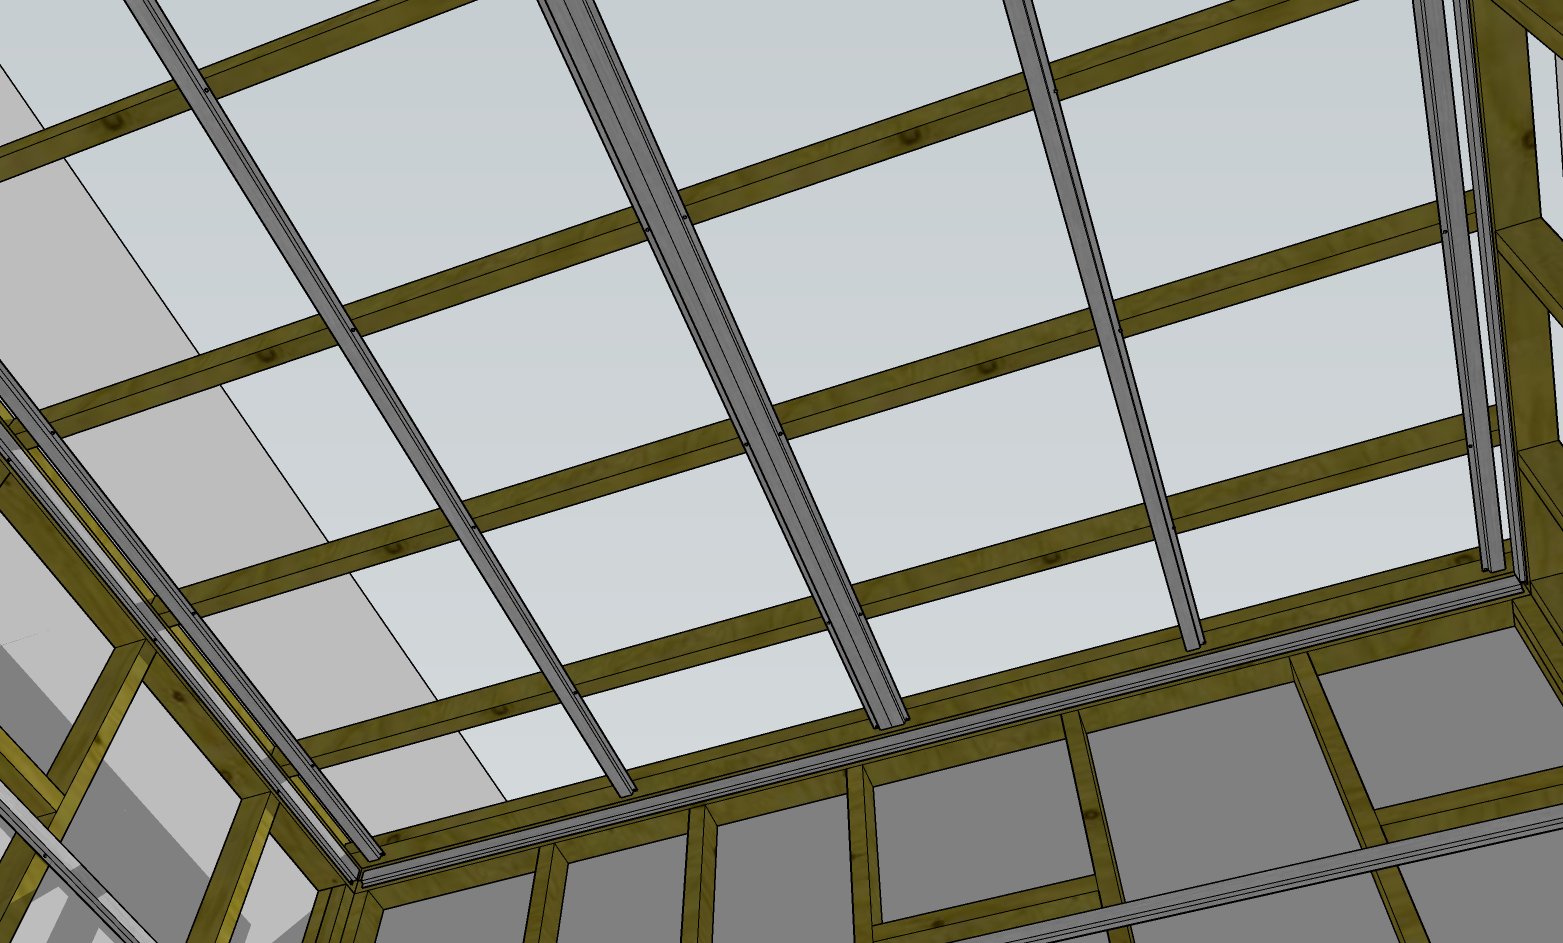
Install RC-8™ Resilient Channel to the underside of the ceiling frame, utilizing the overhanging stud to fasten the ends. Cut to length and ensure both sides of the Resilient Channel extend to meet evenly in the corners. To securely fasten drywall panels at seams, place two channels side-by-side.
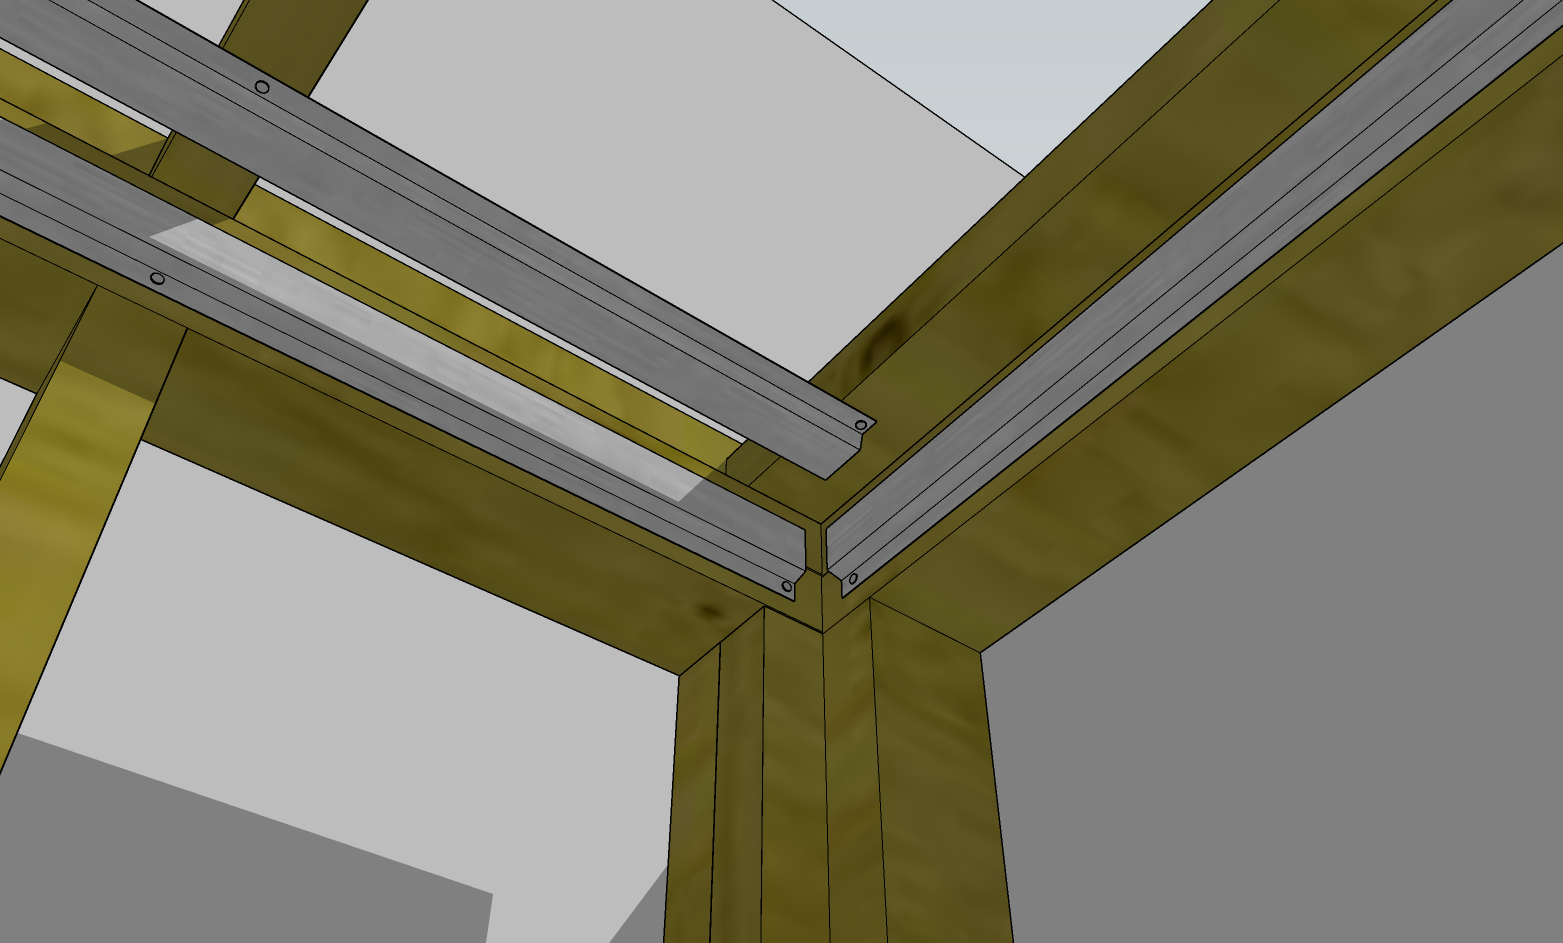
Once mounted, the RC-8™ Resilient Channel should be as tight to the corners as possible, while still allowing clearance for the interior wall drywall panels.
3. Mineral Fiber OR EcoCell™ Installation
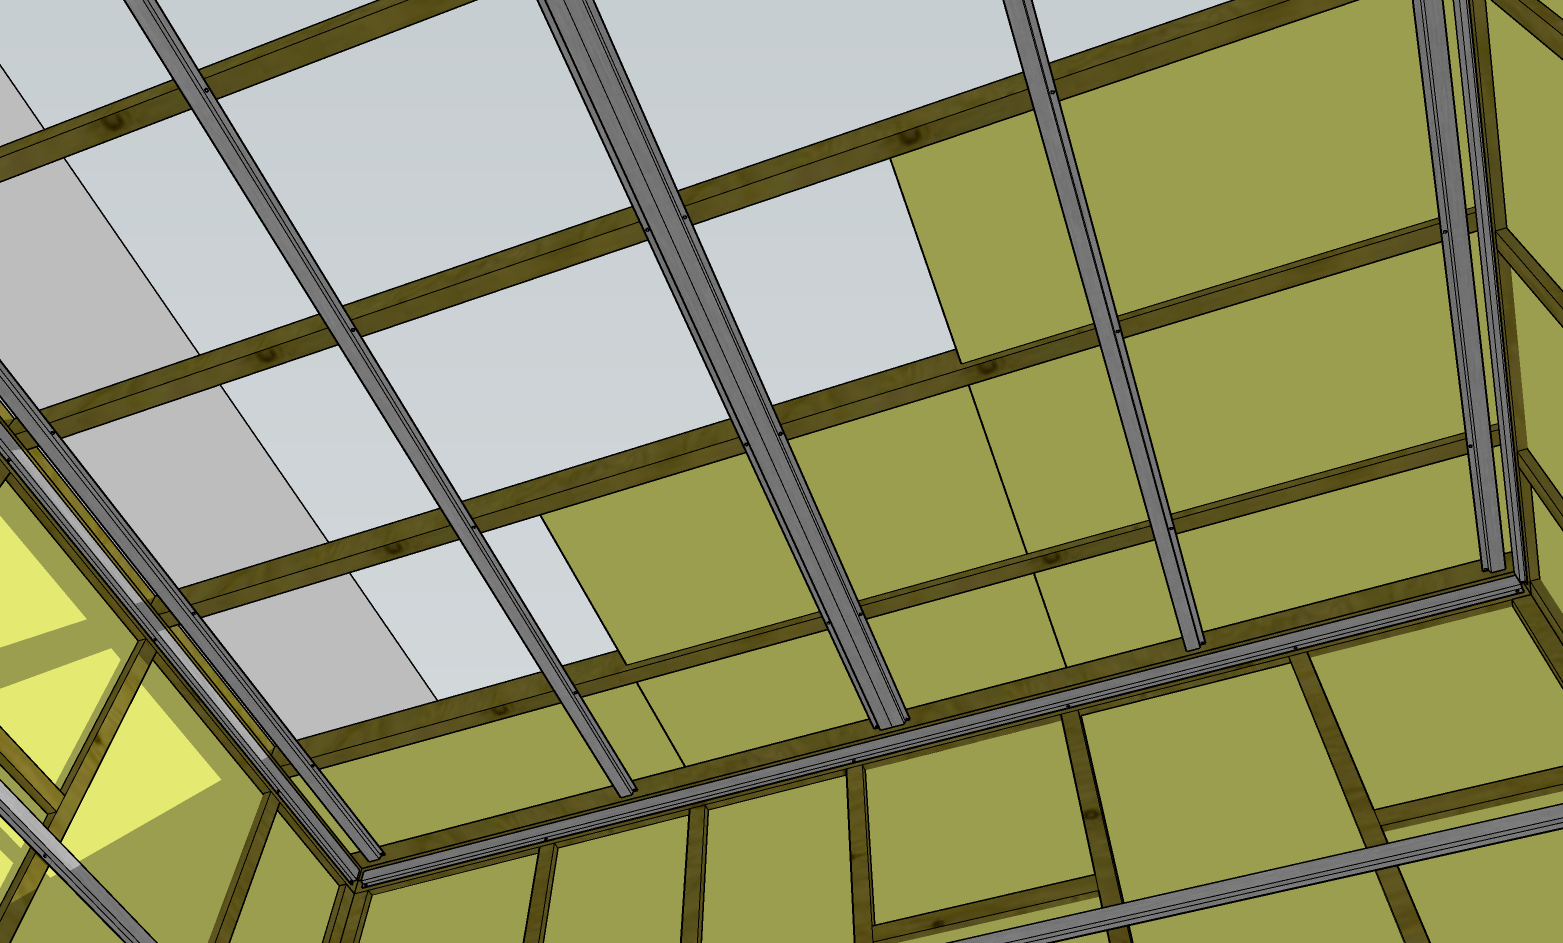
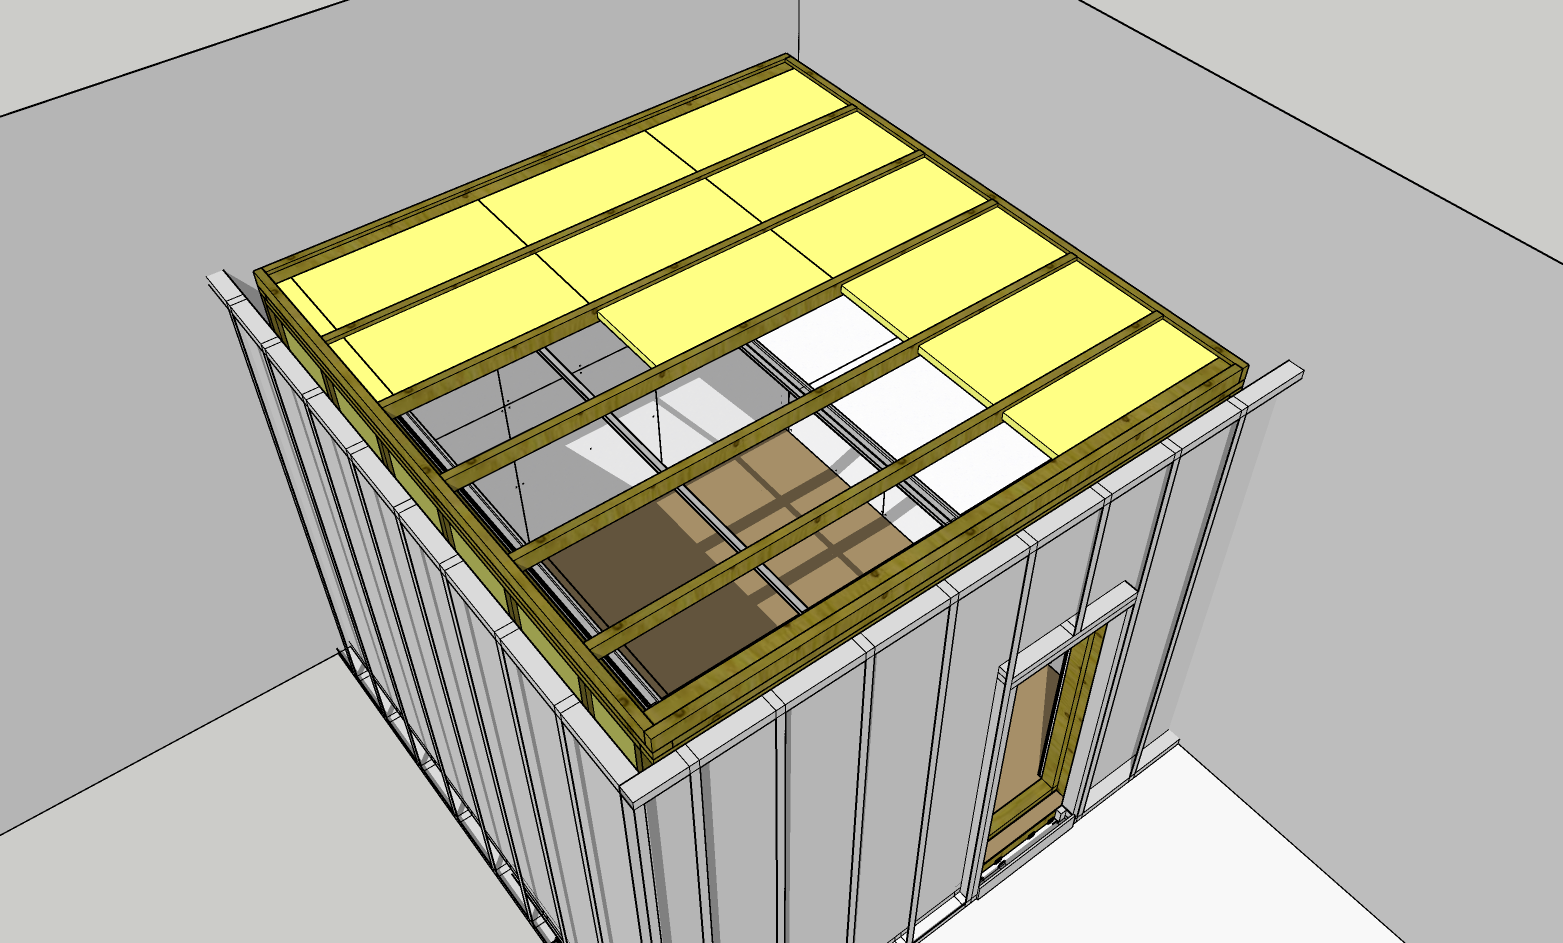
Fill the ceiling frame with Mineral Fiber Insulation or EcoCell™, the primary sound absorption material. Ensure a snug fit around all sides, using anchors if necessary.
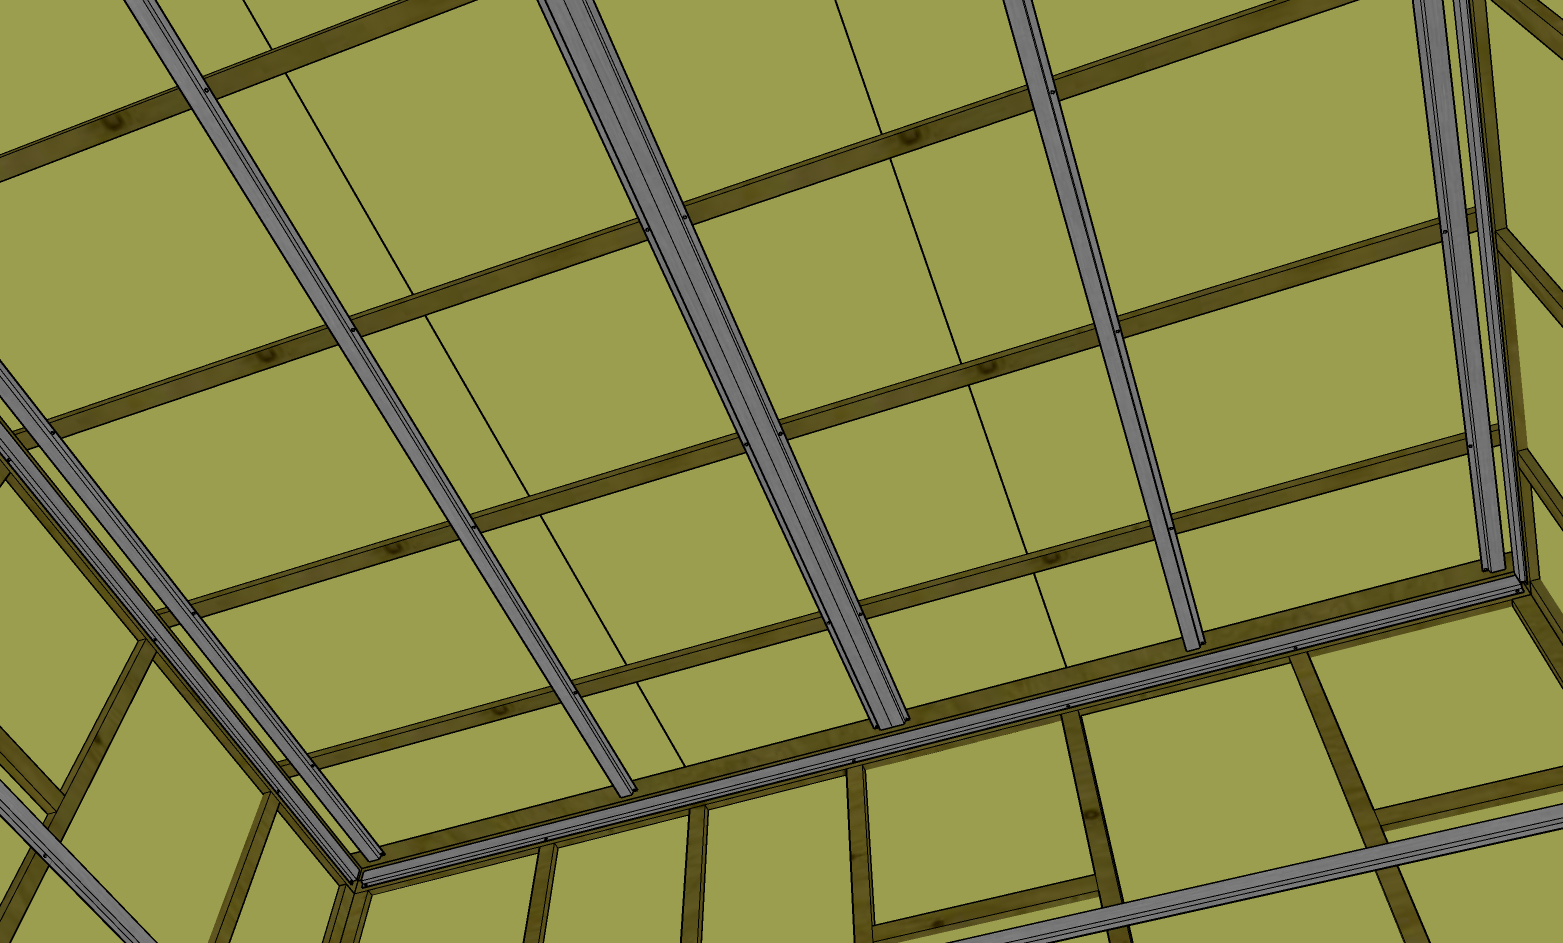
4. Interior Ceiling Drywall Installation - 1 of 2
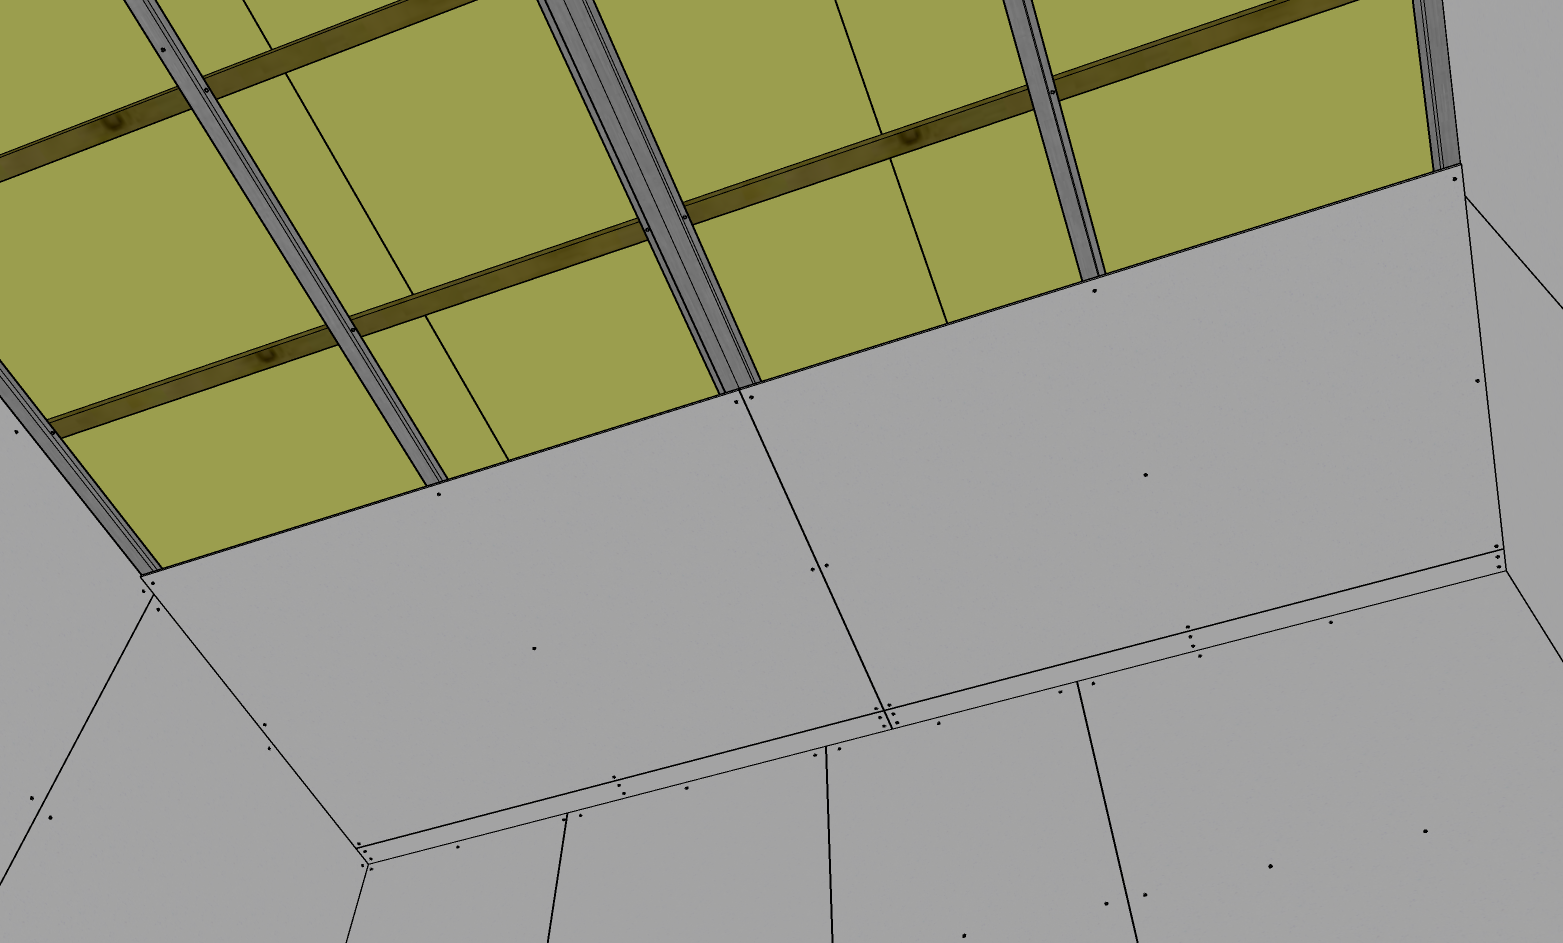
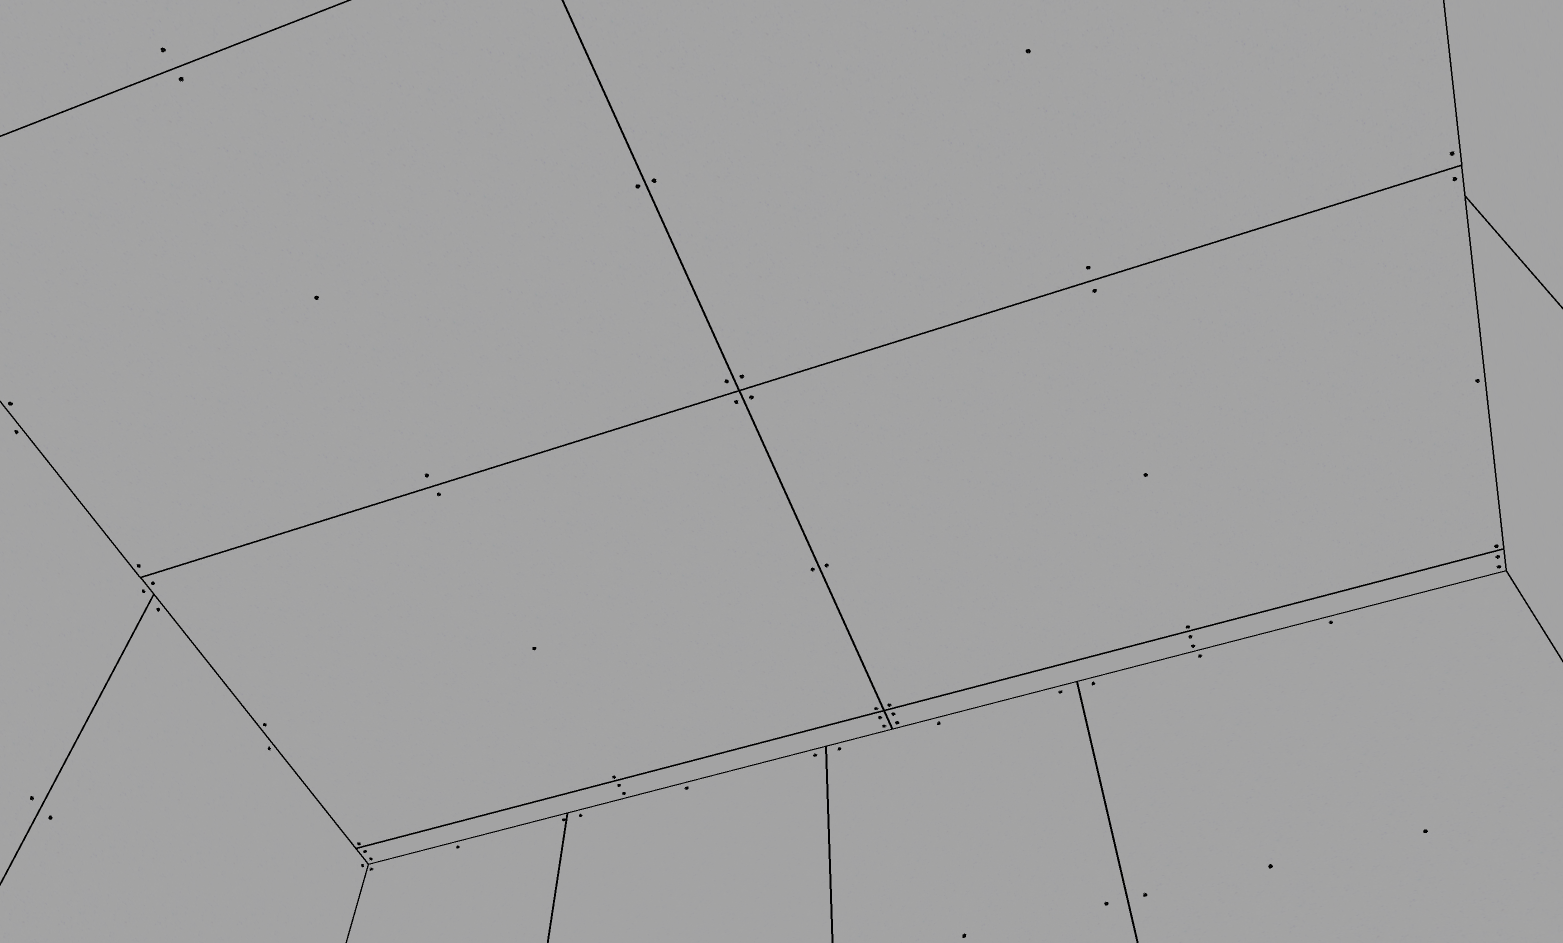
Mount drywall panels to the Resilient Channel using fasteners around all sides and center. Use as few fasteners as possible, but space fasteners no less than 2' apart. The Resilient Channel should provide a gap between the wall studs and drywall panels.
5. SheetBlok Installation
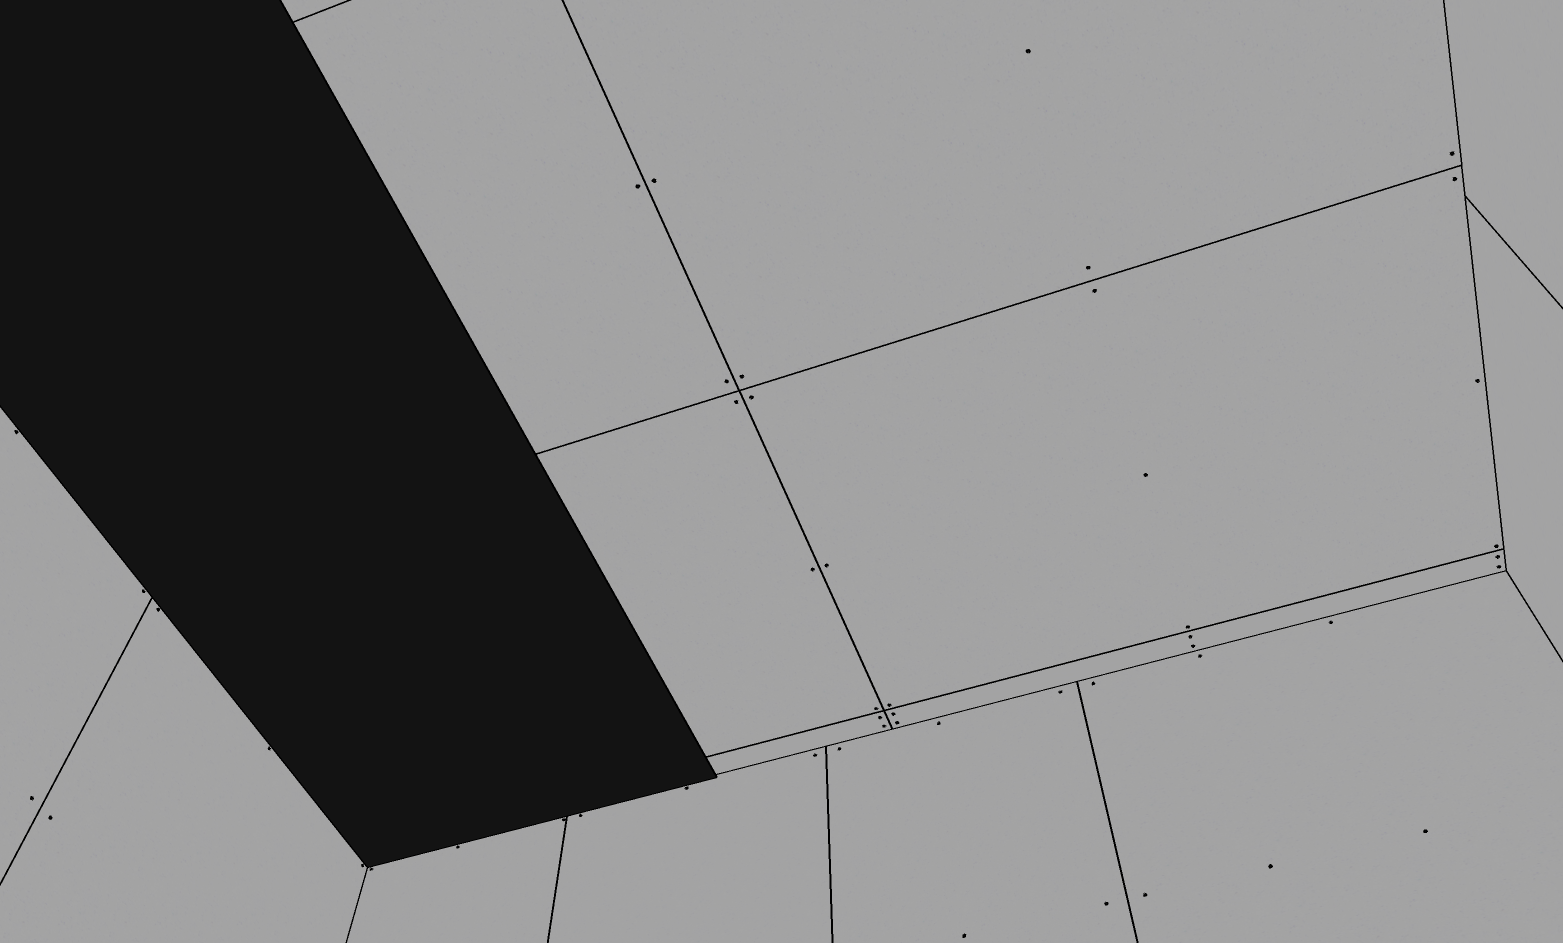
Cut SheetBlok™ Sound Barrier to wall-length and install a single layer with adhesive, brad nails or staples. To minimize seam overlap and airflow, install SheetBlok perpendicular to the drywall panels.
What’s the best method to install SheetBlok?
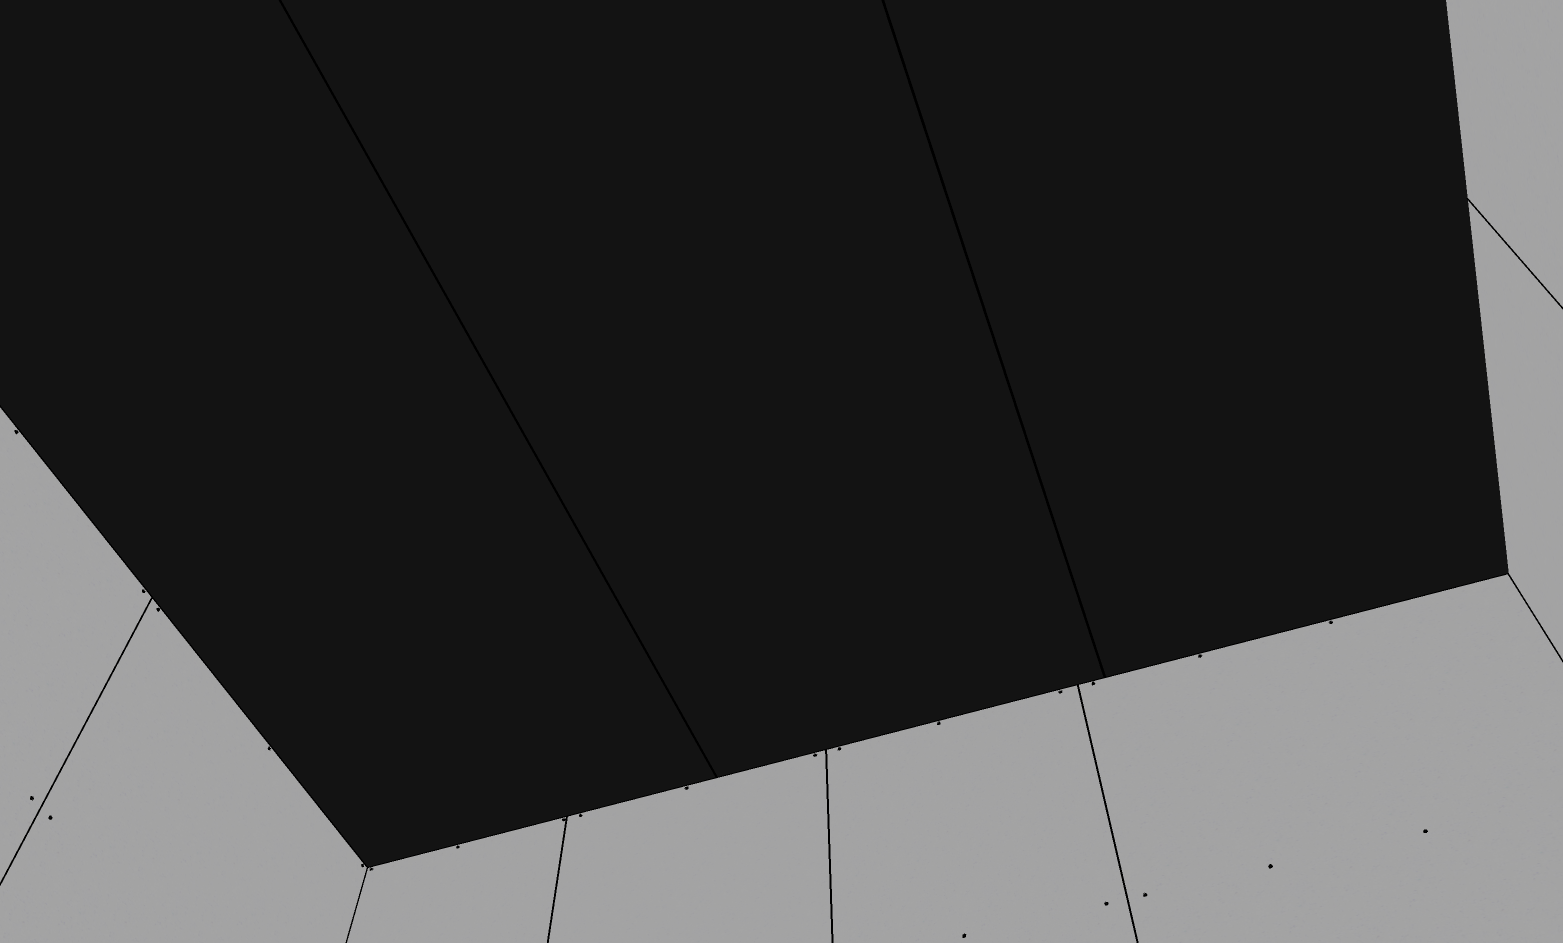
Complete a layer of SheetBlok around the room, ensuring 100% coverage on every surface. Seal all seams with StopGap™ Sealant.
6. Interior Ceiling Dry Wall Installation - 2 of 2

Complete the second layer of drywall panels and further seal any seams with a fine bead of StopGap™ Sealant. If you are building a sound isolating ceiling as part of your project, wait to complete the ceiling before applying jointing compound and paint to the walls.
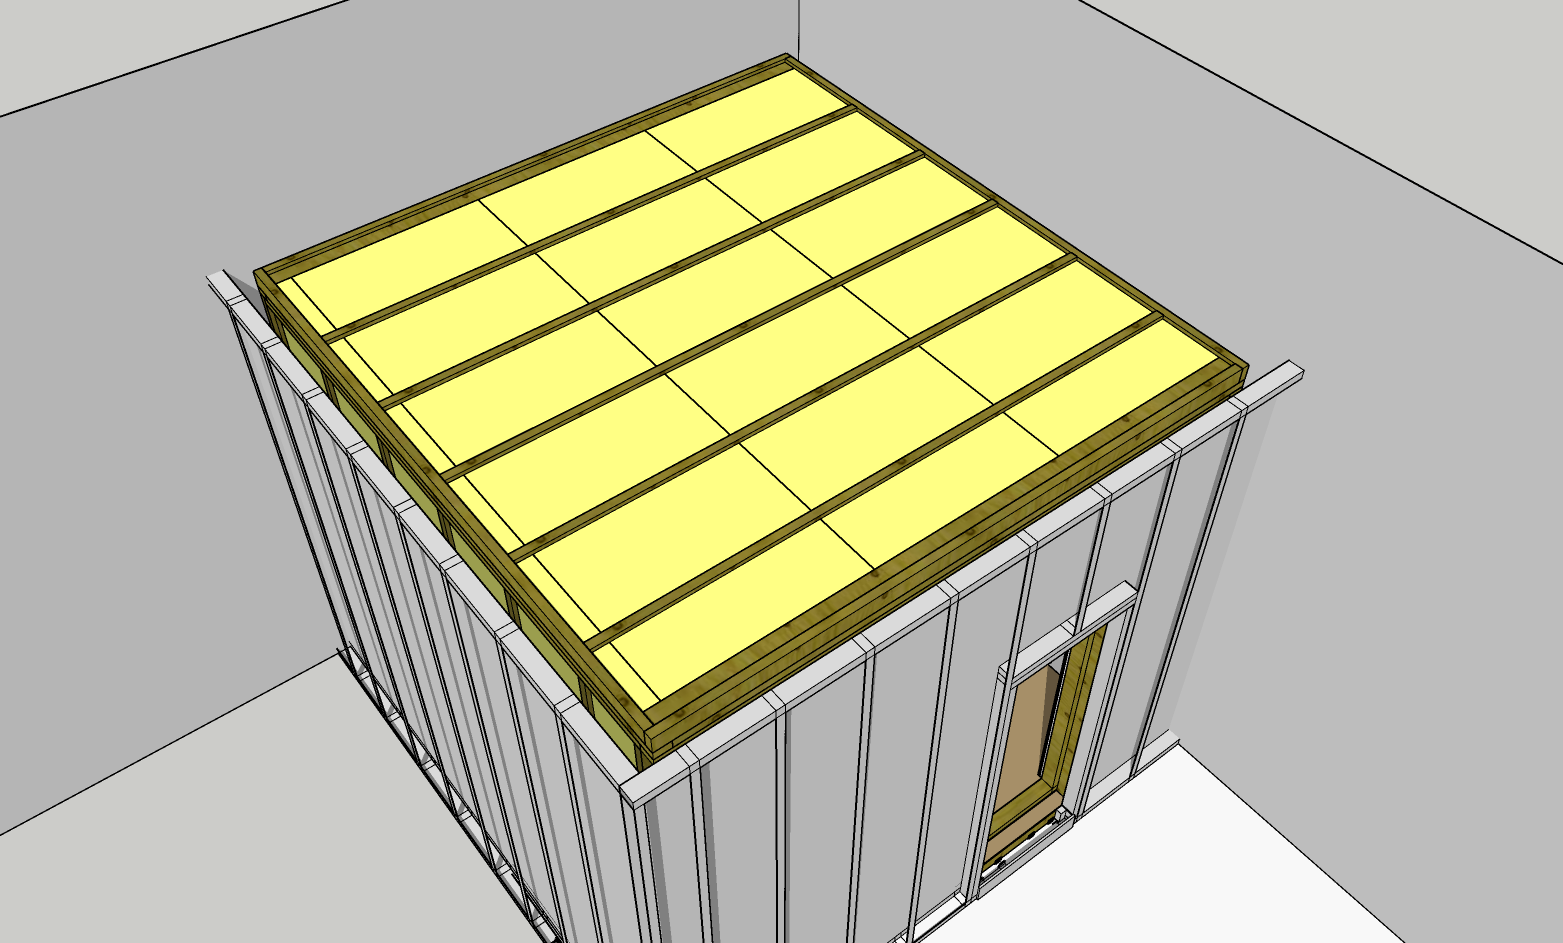
Above: Example of how the completed project might appear inside the existing structure.

