Podcasts

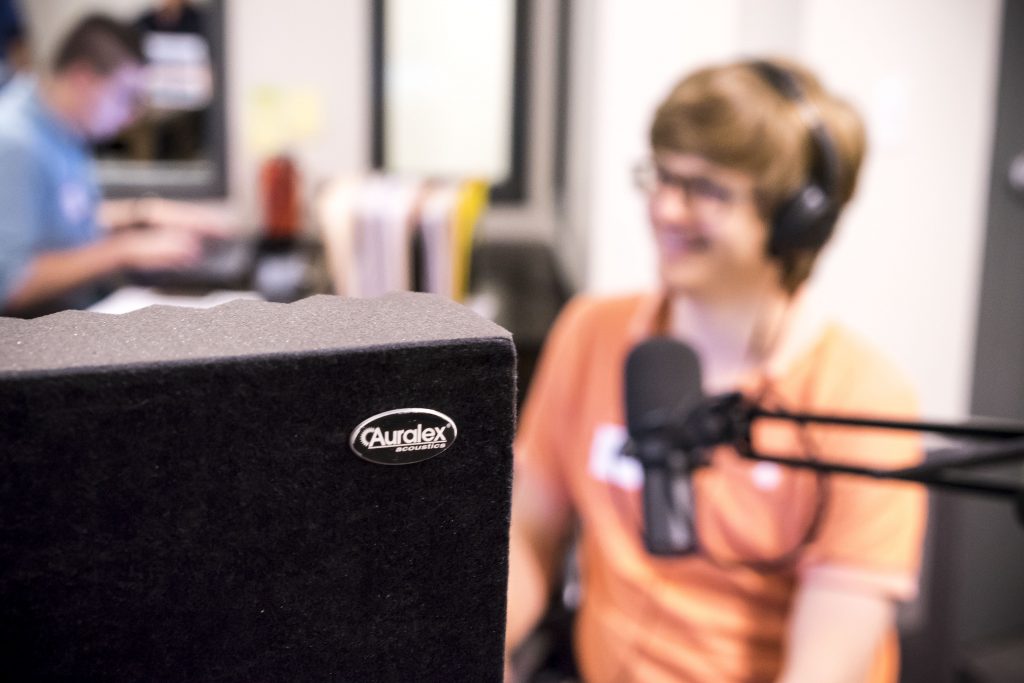
You have your great idea for a podcast, a quality microphone and your DAW figured out. You feel ready to start recording, boot everything up…but…everything sounds like it was recorded in the most reverberant bathroom of all time!
Proper absorption and the location of acoustical treatment can clean up your recordings and raise your work to a professional quality – with just a few simple steps.
3 Types of Vocal Studios
While the categories of rooms you find yourself in for vocal recording may vary, there are three common types:
- A small vocal booth exclusively used for recording.
- A larger space used for recording.
- A larger space that is only partially used for recording (an office, living room, bedroom) that cannot be completely treated.
What’s different about a vocal booth / podcasting studio?
They are an easy fix! You should be looking at only one type of product in most cases: Absorption.
3 Steps for Acoustic Treatment
1. Wall Absorption:
Regardless of the height of your room, you’re going to want to absorb from sitting level to standing height throughout the space. Starting 30”-36” off the ground and treating to 6’6” – 7’ height will address immediate reflections off of the walls in your room at the height you record. If you have a wall directly in front of you, our DeskMAX Portable Treatment Panels will be of use.
a. Smaller spaces require a higher percentage of the walls to be covered for a controlled and professional recording. Our RLX app can help you get a quantity of product. The rest is straightforward application!
b. Start by treating the immediate recording area heavily with absorption. If the rest of the room allows it, we recommend spreading out and off-setting absorption on opposite walls, so that the treatment is not parallel. This helps reduce locational “slapback”, depending on where you stand within the room.
c. Portable treatment is a terrific option to help wall yourself in. Our ProMAX Portable Treatment Panels are an especially versatile option. Couple that with the closest walls being covered with absorption, and your studio is almost ready.
2. Ceiling Treatment:
Treat immediately above you, and any other recording member of the podcast, with a spread of acoustical panels (at least 4’x4’ if possible). After that, spreading further absorption out across the rest of the room’s ceiling can help control room noise and echoes.
3. Consider Your Needs:
Is there a long glass window that makes one wall untreatable? Consider extra absorption on the opposite wall. Are you in a corner? Bass traps along the corners absorb across the entire frequency spectrum and fit into vertical corners easily. Feel free to make necessary adjustments, so the room is aesthetically professional and comfortable to use.
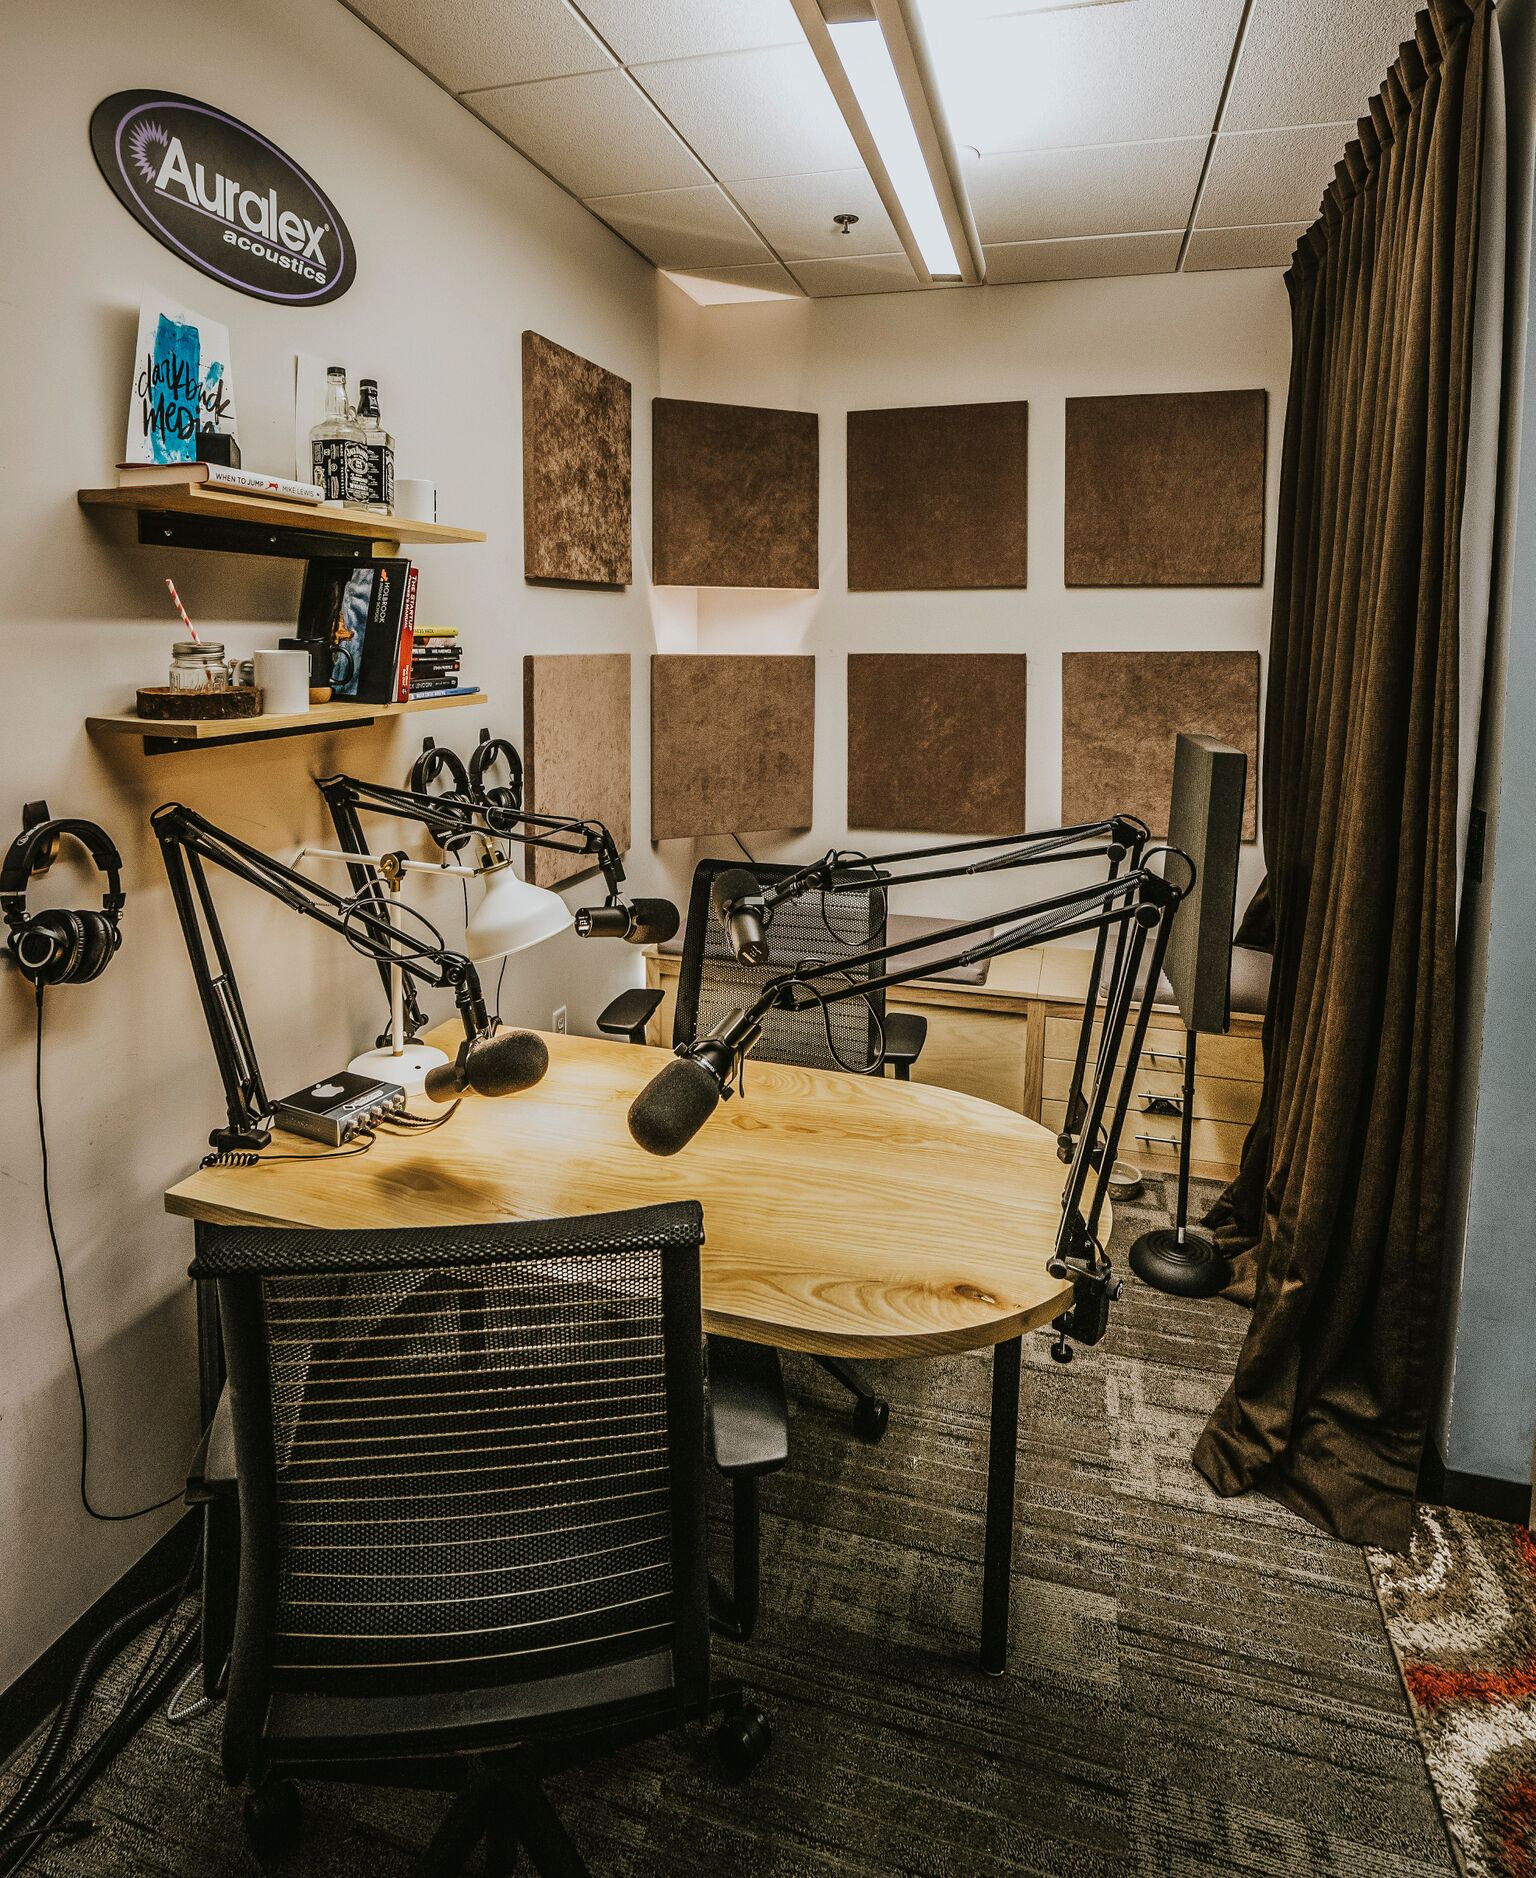
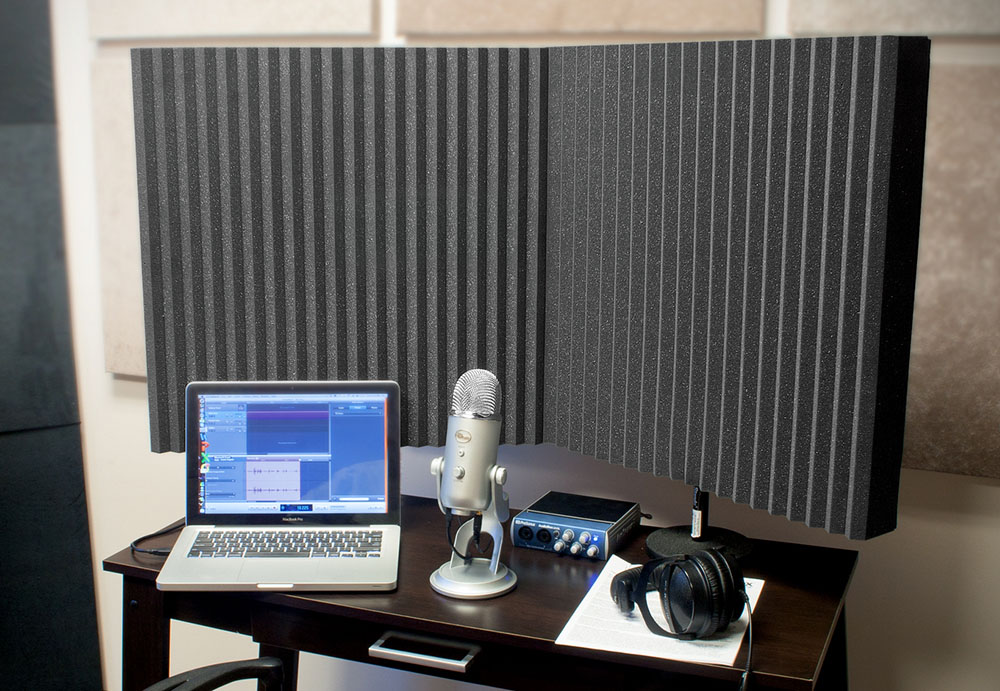
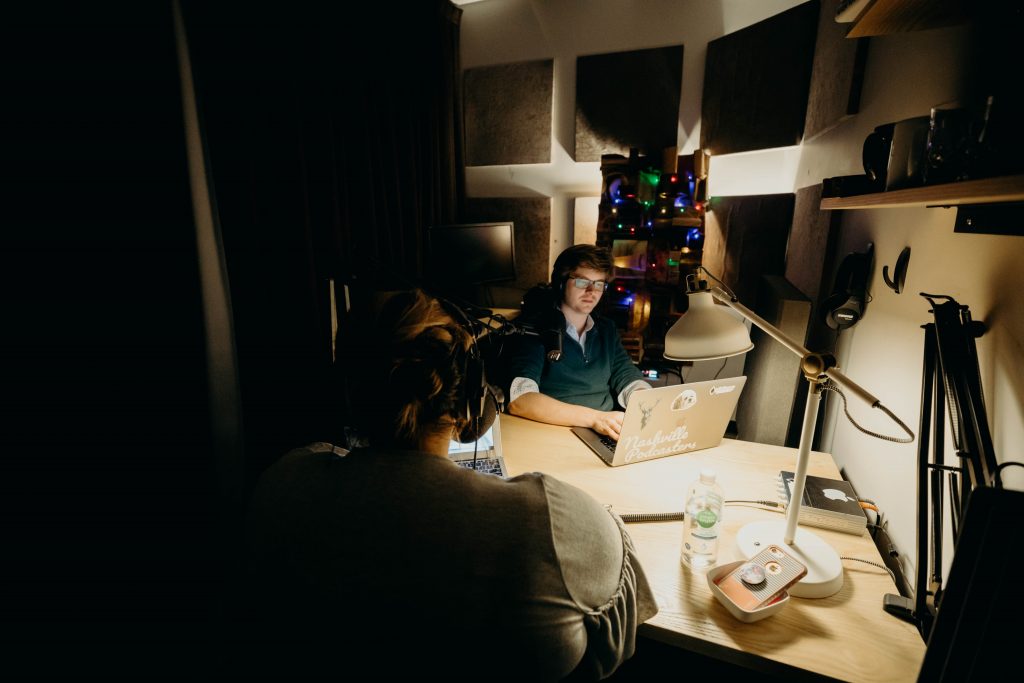
Samples of Different Setups
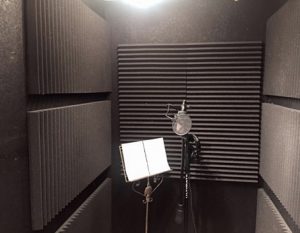 |
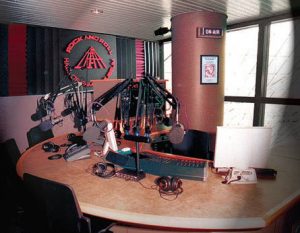 |
 |
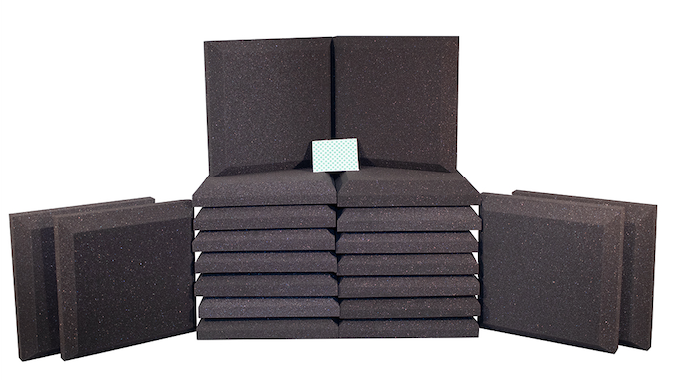
Looking to setup your Podcast Studio?
Checkout our Home Office Kit for a performance oriented solution.
Ready For More Information? We Can Help!
Want to know more about your options? Auralex is the industry-leading Acoustics company and one of the oldest and most respected companies in the business. Since 1977, we have helped thousands of people with their unique acoustic needs in all kinds of facilities from auditoriums to bedroom studios. Our highly trained staff is available for phone support to answer questions. If you have some basic measurements and information about your space and you are ready to receive a recommendation, please visit the Auralex Free Room Analysis page.
Contact us today to see what we can do for you!